Control Sprites with SKAction and SKConstraint
How to implement a space shooter with SpriteKit and SWIFT - Part 2:
Adding enemies, bullets and shooting with SKAction and SKConstraint

Lite Version
Full Version
Tutorial Overview: How to implement a space shooter with SpriteKit and SWIFT
- Part 1: Initial project setup, sprite creation and movement using SKAction and SKConstraint
- Part 2: Adding enemies, bullets and shooting with SKAction and SKConstraint
- Part 3: Adding a HUD with SKLabelNode and SKSpriteNode
- Part 4: Adding basic game logic and collision detection
- Part 5: Adding particles and sound
- Part 6: GameCenter integration
- Part 7: iAd integration
- Part 8: In-App Purchases
Add the enemies:
I’ll add several enemy sprites. These will automatically follow and orient to the hero sprite. You can download the code from Part 1 here.
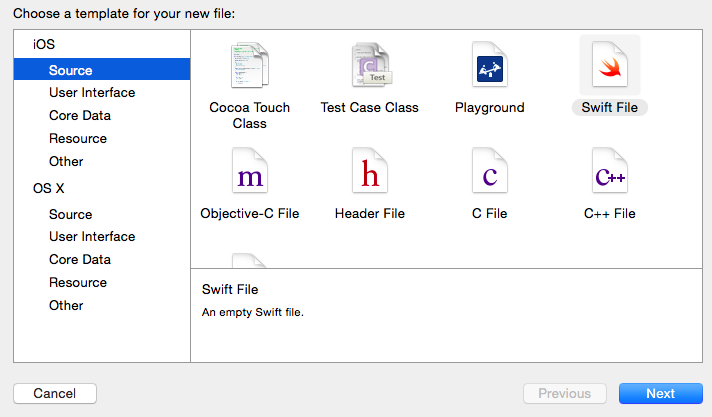
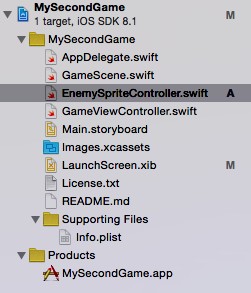
1. Add a new class EnemySpriteController:
2. Import SpriteKit, define the class and add an array which stores all enemies:
import SpriteKit

// Controller class for:
// - creating/destroying enemies,
// - shooting
// - animitaions
class EnemySpriteController {
  var enemySprites: [SKSpriteNode] = []
}
3. Add a new method spawnEnemy to EnemySpriteController:
Nothing magic here. Just create a SKSpriteNode and add it to the enemy collection. Targeting and orientation behavior is implemented with SKConstraints. For details check my post: HowTo: Implement targeting or follow behavior for sprites with SpriteKit and SKConstraint.
// Return a new enemy sprite which follows the targetSprite node
func spawnEnemy(targetSprite: SKNode) -> SKSpriteNode {
  // create a new enemy sprite
  let newEnemy = SKSpriteNode(imageNamed:"Spaceship")
  enemySprites.append(newEnemy)
  newEnemy.xScale = 0.08
  newEnemy.yScale = 0.08
  newEnemy.color = UIColor.redColor()
  newEnemy.colorBlendFactor=0.4

  // position new sprite at a random position on the screen
  var sizeRect = UIScreen.mainScreen().applicationFrame;
  var posX = arc4random_uniform(UInt32(sizeRect.size.width))
  var posY = arc4random_uniform(UInt32(sizeRect.size.height))

  newEnemy.position = CGPoint(x: CGFloat(posX), y: CGFloat(posY))

  // Define Constraints for orientation/targeting behavior
  let i = enemySprites.count-1
  let rangeForOrientation = SKRange(constantValue:CGFloat(M_2_PI*7))
  let orientConstraint = SKConstraint.orientToNode(targetSprite, offset: rangeForOrientation)
  let rangeToSprite = SKRange(lowerLimit: 80, upperLimit: 90)
  var distanceConstraint: SKConstraint

  // First enemy has to follow spriteToFollow, second enemy has to follow first enemy, ...
  if enemySprites.count-1 == 0 {
    distanceConstraint = SKConstraint.distance(rangeToSprite, toNode: targetSprite)
  } else {
    distanceConstraint = SKConstraint.distance(rangeToSprite, toNode: enemySprites[i-1])
  }
  newEnemy.constraints = [orientConstraint, distanceConstraint]
  return newEnemy
}
4. Create a property for the EnemySpriteController object inside GameScene.swift:
var enemySprites = EnemySpriteController()
5. Create some enemies at the end of didMoveToView method inside GameScene.swift:
// Add enemy sprites
for(var i=0; i<3;i++){
  self.addChild(enemySprites.spawnEnemy(heroSprite))
}
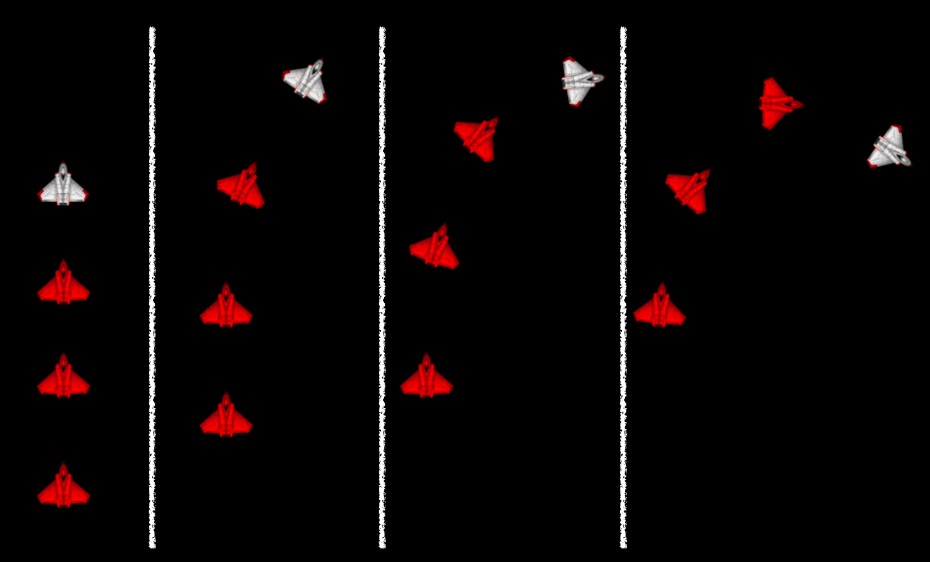
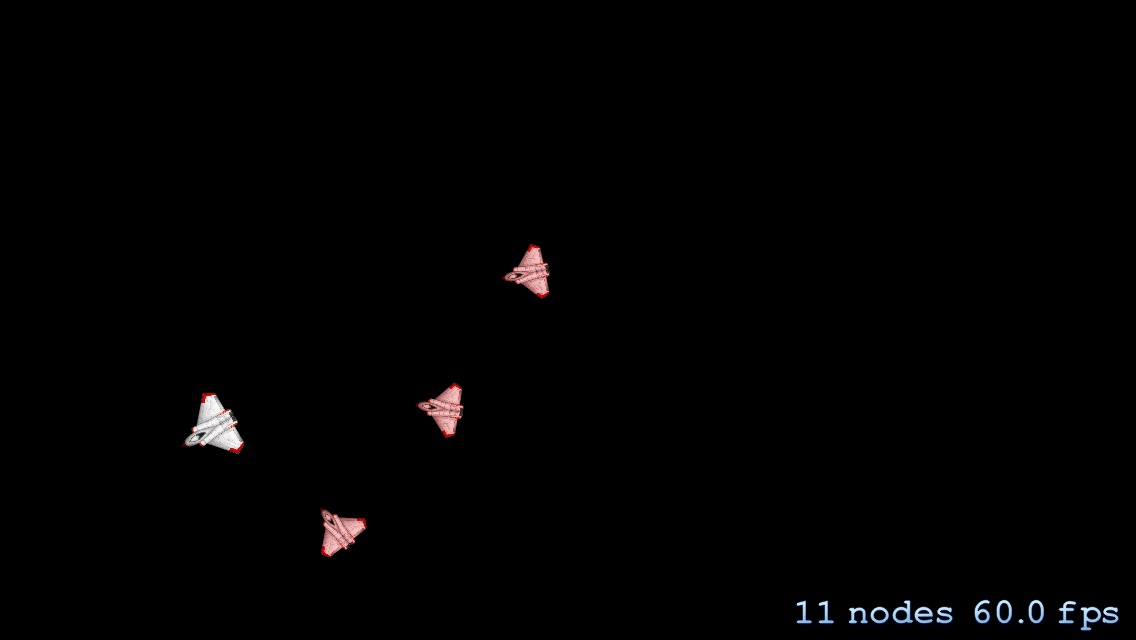
Result are three red enemy sprites which will follow the white spaceship. Next steps are adding bullets and shooting.
6. Add a shoot method inside EnemySpriteController.swift:
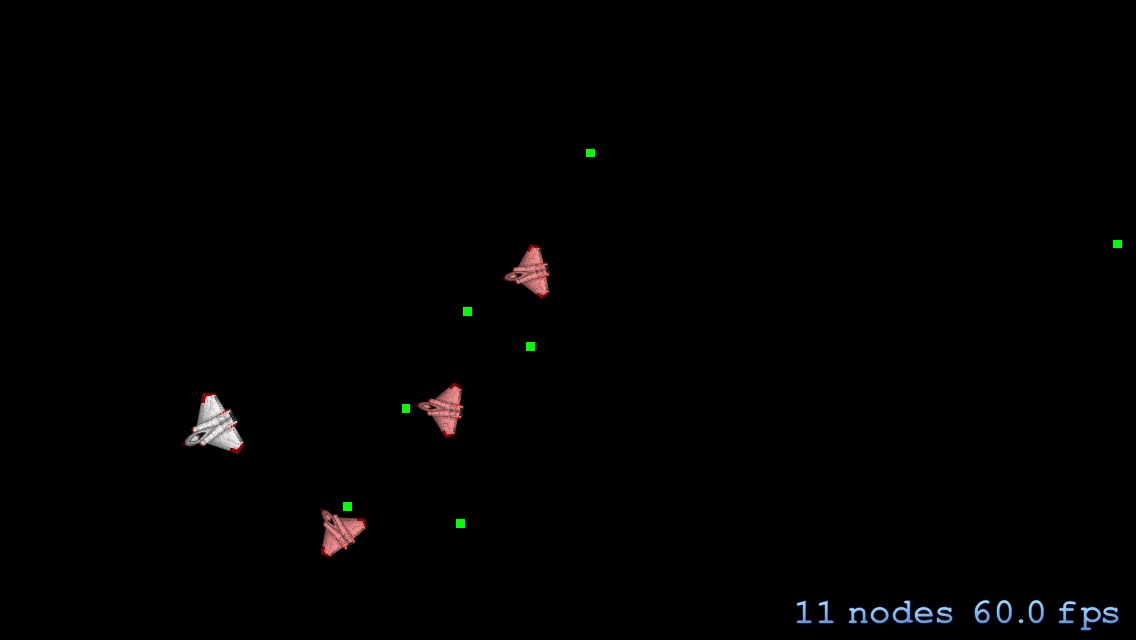
The shoot method iterates over each enemy sprite, creates a bullet, determines a vector to the target object and starts a SKAction which moves the bullet.
// Shoot in direction of spriteToShoot
func shoot(targetSprite: SKNode) {
  for enemy in enemySprites {
    // Create the bullet sprite
    let bullet = SKSpriteNode()
    bullet.color = UIColor.greenColor()
    bullet.size = CGSize(width: 5,height: 5)
    bullet.position = CGPointMake(enemy.position.x, enemy.position.y)
    targetSprite.parent?.addChild(bullet)

    // Determine vector to targetSprite
    let vector = CGVectorMake((targetSprite.position.x-enemy.position.x), targetSprite.position.y-enemy.position.y)

    // Create the action to move the bullet. Don't forget to remove the bullet!
    let bulletAction = SKAction.sequence([SKAction.repeatAction(SKAction.moveBy(vector, duration: 1), count: 10) , SKAction.waitForDuration(30.0/60.0), SKAction.removeFromParent()])
    bullet.runAction(bulletAction)
  }
}
7. Call shoot inside the update method of GameScene.swift:
SpriteKit cannot guarantee in which time intervals the update method is called. To ensure that the enemies shoot every second, I’ll store the time interval when shoot was called in a global property.
var _dLastShootTime: CFTimeInterval = 1
override func update(currentTime: CFTimeInterval) {
  /* Called before each frame is rendered */
  if currentTime - _dLastShootTime >= 1 {
    enemySprites.shoot(heroSprite)
    _dLastShootTime=currentTime
  }
}
That’s all for today. In my next part I’ll add a HUD, implement a basic game loging and add collision detection. You can download the code from GitHub: Part 2 or the latest version here. You can also download my prototyping App for this tutorial series:
Lite Version
Full Version
Cheers,
Stefan