Level Crafting
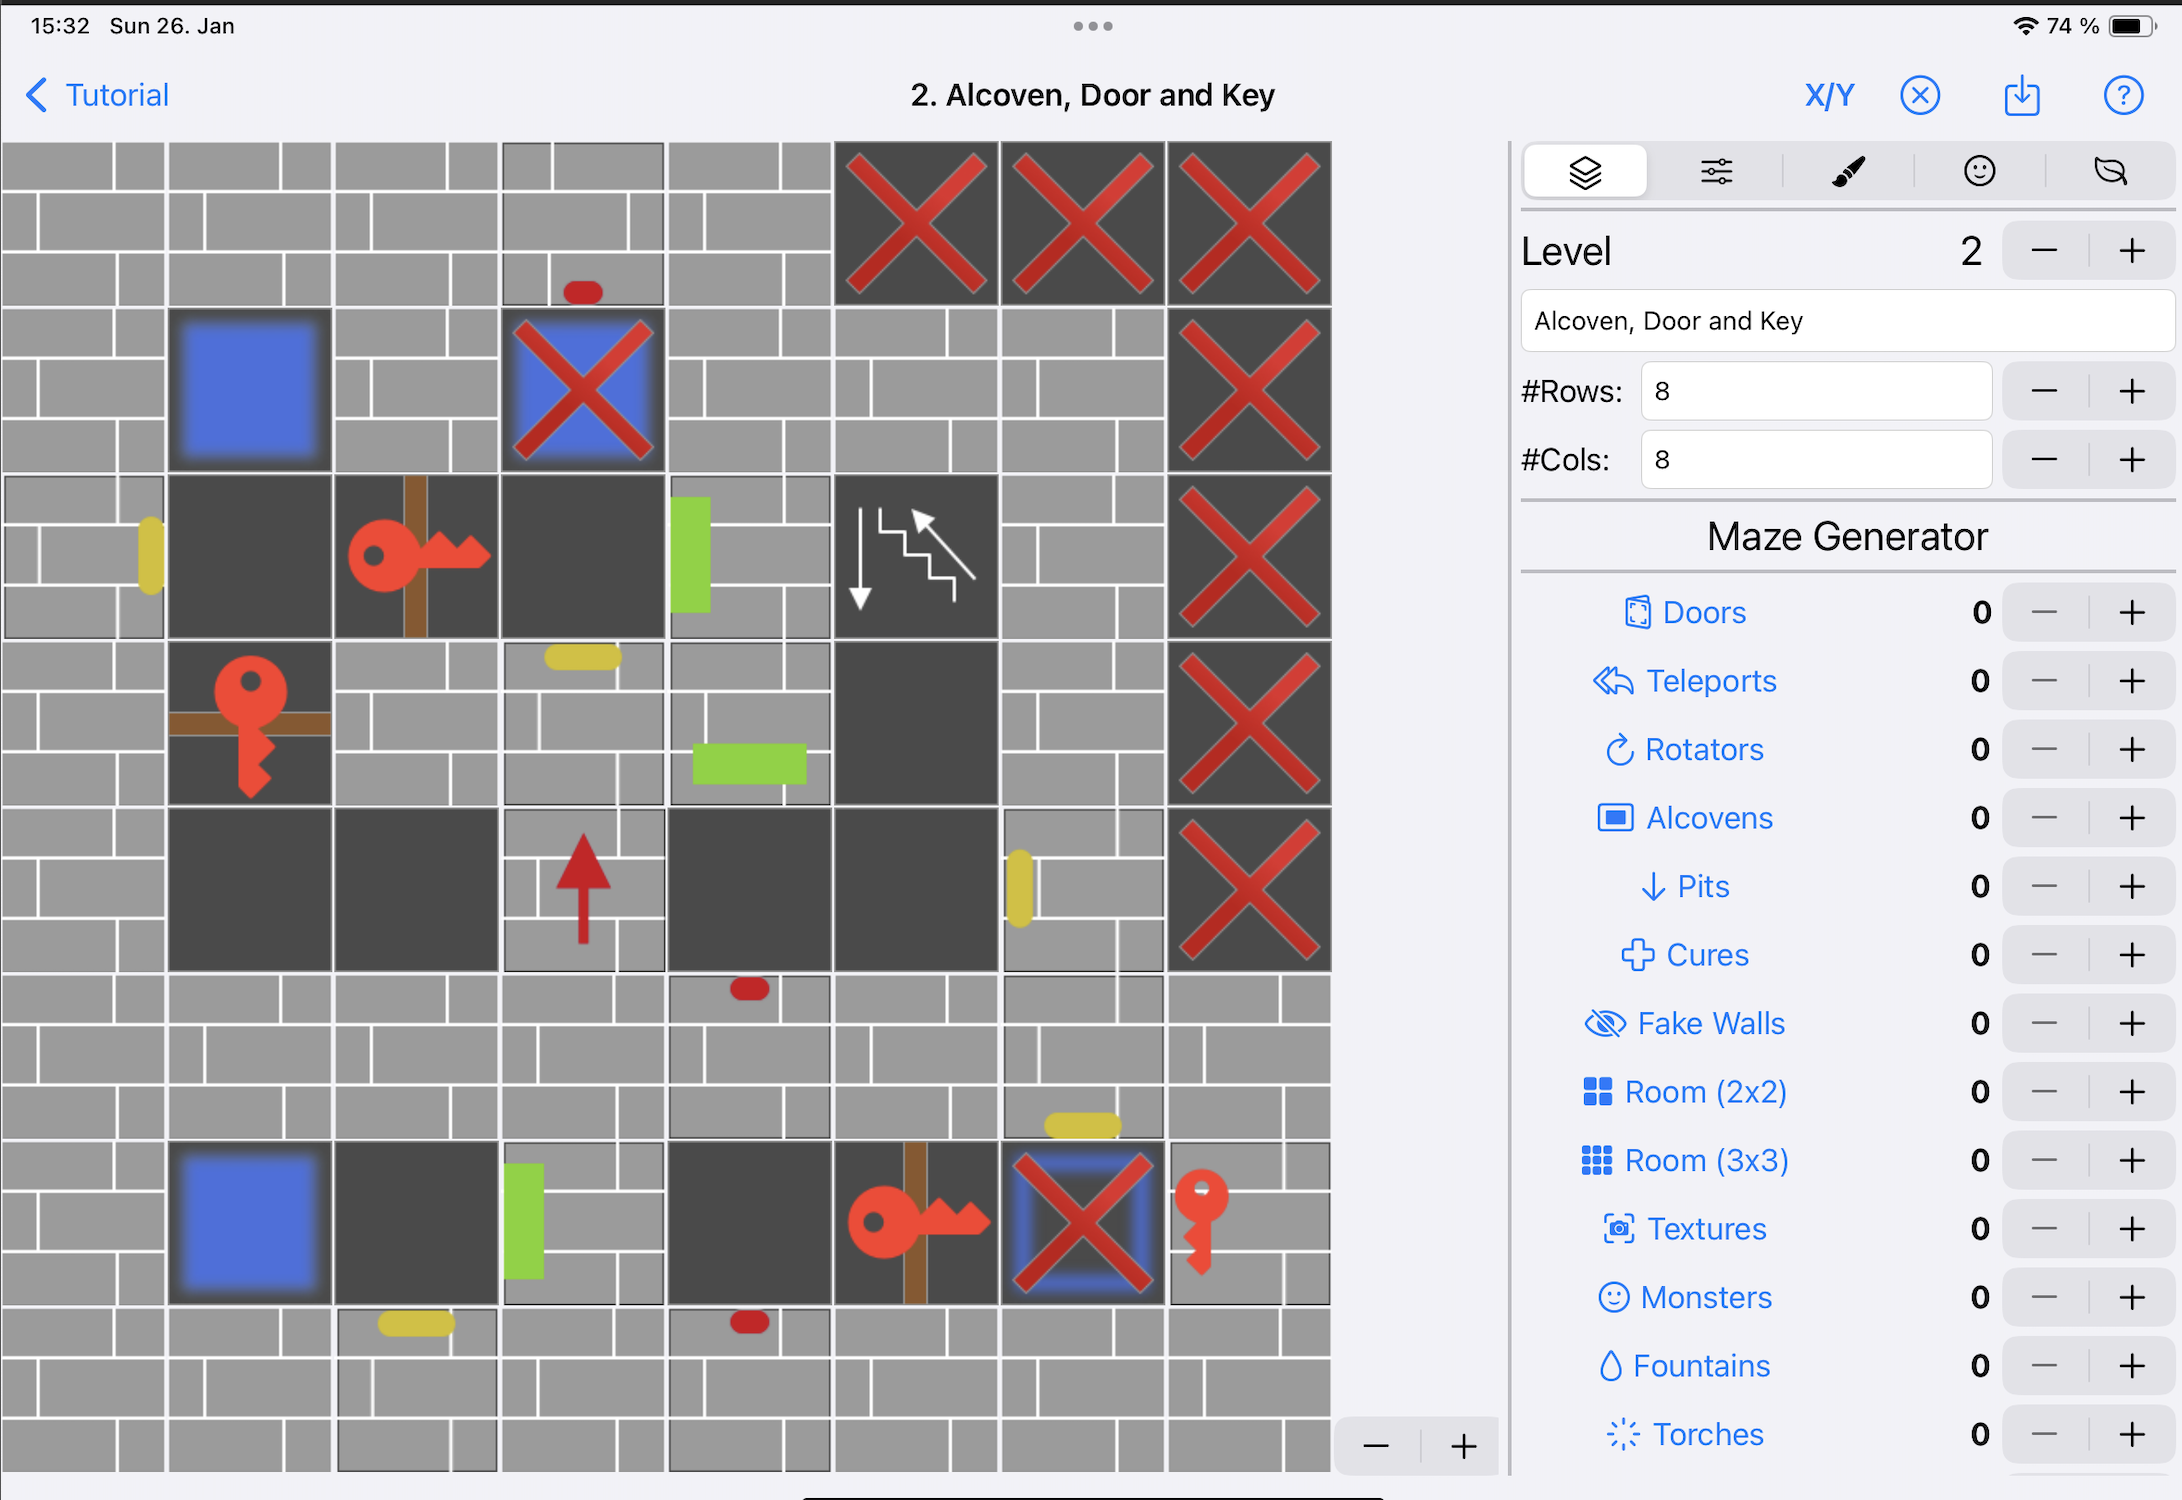
The Level Detail screen is the main workspace where you design and edit your dungeon levels. This screen provides all the tools you need to create intricate maze layouts, place monsters and items, configure triggers, and fine-tune every aspect of your dungeon.
Interface Overview
The Level Detail screen is divided into three main areas:
- Drawing Area (left): Visual representation of your level
- Edit Modes Panel (right): Switch between settings, drawing, triggers, game items and monsters
- Header (top): Navigation and utility buttons
Drawing Area
The drawing area on the left displays your current level in a top-down view. This is where you can:
- View your entire level layout at a glance
- Select individual tiles by clicking on them
- See visual indicators showing monsters, gamitems, … based on the current edit mode
Mode-Specific Indicators
Depending on which edit mode you have active, the drawing area displays different visual markers:
- Tile Mode: Shows all tile types and their current state
- Monster Mode: Highlights tiles containing monsters
- Item Mode: Highlights tiles containing game items
- Trigger Mode: Shows tiles with triggers and their action targets
Coordinate Display
Enable the coordinate display using the X/Y button in the header to show grid coordinates. This is particularly useful when:
- Setting up trigger actions that target specific tiles
- Documenting your level design
- Troubleshooting complex trigger chains
Edit Modes

The right panel contains five different edit modes, each providing specialized tools for different aspects of level design:
1. Level Settings & Maze Generator
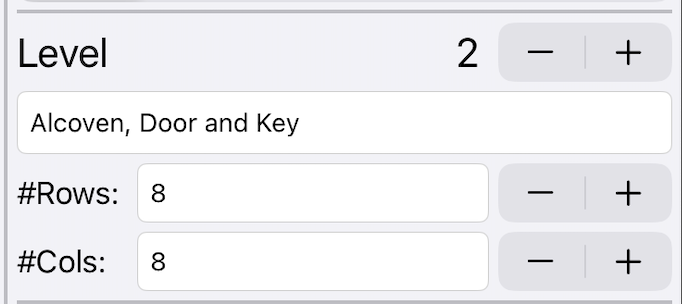
Configure basic level properties and use the maze generator.
2. Tile Editor
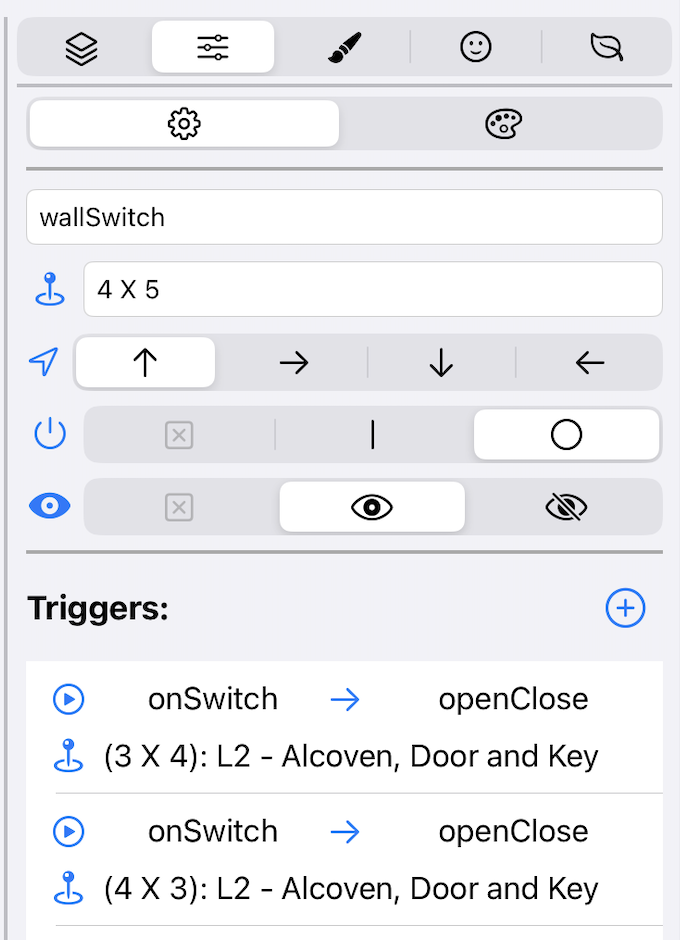
Place and configure individual tiles, set up triggers and actions.
View Tiles, Triggers and Actions Tutorial
3. Paint Mode
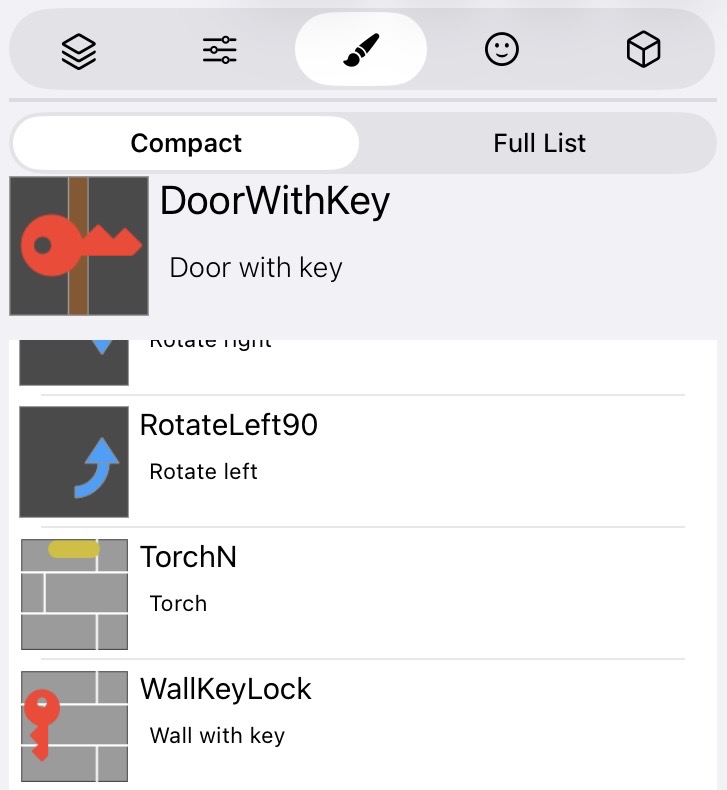
Quickly paint tiles using a tile palette for efficient level building.
4. Monster Placement
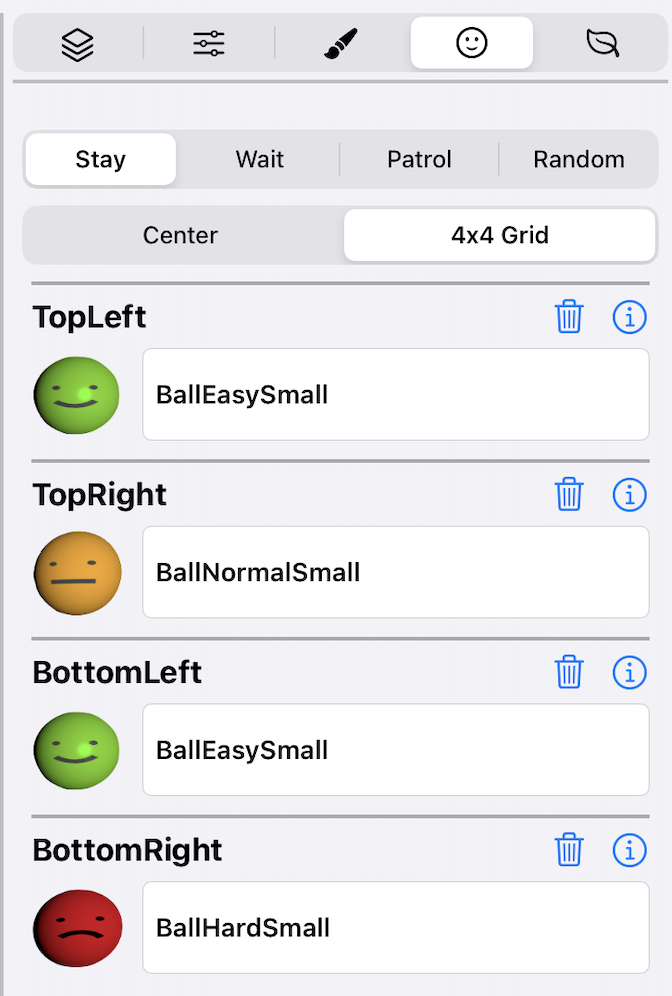
Add monsters to your level and configure their behavior.
5. Item Placement
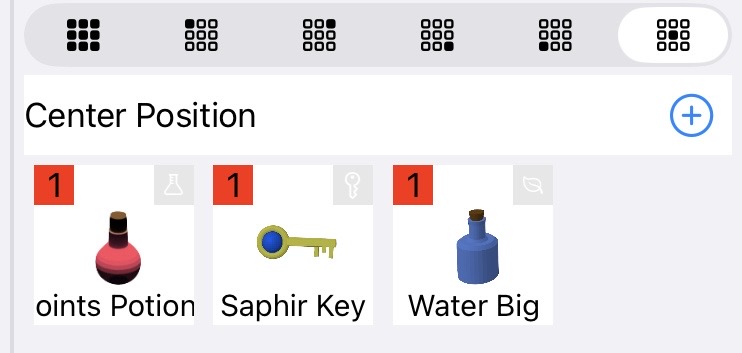
Place game items like keys, potions, weapons, and treasure throughout your dungeon.
Header Controls

The header contains essential navigation and utility buttons:
X/Y Coordinate Toggle
Shows or hides the coordinate grid overlay on the drawing area. This is essential when working with triggers and actions that target specific tile positions.
Cancel Button
Discards all changes made since the last save and returns to the level pack overview screen. Use this if you want to abandon your current edits.
Warning: All unsaved changes will be lost when you cancel.
Save Button
Saves all changes made to the current level. Always save your work regularly to avoid losing progress.
Best Practice: Save frequently, especially after completing major changes or adding complex trigger systems.
Workflow Tips
Here are some recommended workflows for building effective dungeon levels:
Starting a New Level
- Use Level Settings to configure dimensions and basic properties
- Switch to Paint Mode to lay out the basic maze structure
- Add Tiles with special properties (doors, switches, pits)
- Place Monsters at strategic locations
- Add Items for players to discover
- Set up Triggers and Actions for puzzles and traps
- Save your work regularly