HowTo: Implement a HUD with SpriteKit
Welcome to Part 8 of my blog series about game development: HUD with SpriteKit
Today I’ll add a HUD (head up display) to the SpriteKit Scene. The HUD shows the remaining lives, current, level, score and has the option to pause the game:

Create the HUD:
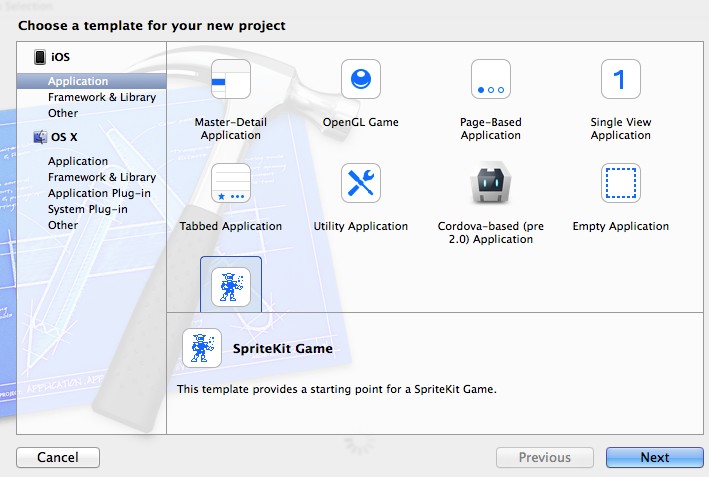
1. Create a new SpritKit project in Xcode:
2. Hide the status bar: (Add View controller-based status bar appearance = No to the plist file)

3. Add properties for current level and score to MyScene.h:
#import <SpriteKit/SpriteKit.h>

@interface MyScene : SKScene
  @property int Score;
  @property int Level;
@end
4. Add the properties for the UIElements.
I’ve declared them inside the MyScene.m file, because they will only be used inside this class and can be private:
#import "MyScene.h"

// Private properties
@interface GameScene ()
  @property (nonatomic, retain) SKSpriteNode* LifeNode1;
  @property (nonatomic, retain) SKSpriteNode* LifeNode2;
  @property (nonatomic, retain) SKSpriteNode* LifeNode3;
  @property (nonatomic, retain) SKLabelNode* ScoreNode;
  @property (nonatomic, retain) SKLabelNode* LevelNode;
  @property (nonatomic) int Lifes;
@end

@implementation GameScene

...
5. Create the HUD
// Adds the HUD to the scene
-(void)createHUD {
  // root node with black background
  SKSpriteNode*hud = [[SKSpriteNode alloc] initWithColor:[UIColor blackColor] size:CGSizeMake(self.size.width, self.size.height*0.05)];
  hud.anchorPoint=CGPointMake(0, 0);
  hud.position = CGPointMake(0,self.size.height-hud.size.height);
  [self addChild:hud];

  // remaining/lost lifes0,
  self.Lifes=3;
  self.LifeNode1 = [[SKSpriteNode alloc] initWithImageNamed:@"Spaceship"];
  self.LifeNode1.size=CGSizeMake(hud.size.height-2, hud.size.height-2);
  self.LifeNode1.position=CGPointMake(self.LifeNode1.size.width, hud.size.height/2);
  [hud addChild:self.LifeNode1];

  self.LifeNode2 = [[SKSpriteNode alloc] initWithImageNamed:@"Spaceship"];
  self.LifeNode2.size=CGSizeMake(hud.size.height-2, hud.size.height-2);
  self.LifeNode2.position=CGPointMake(self.LifeNode2.size.width*2.5, hud.size.height/2);
  [hud addChild:self.LifeNode2];

  self.LifeNode3 = [[SKSpriteNode alloc] initWithImageNamed:@"Spaceship"];
  self.LifeNode3.size=CGSizeMake(hud.size.height-2, hud.size.height-2);
  self.LifeNode3.position=CGPointMake(self.LifeNode3.size.width*4, hud.size.height/2);
  [hud addChild:self.LifeNode3];

  // current level
  self.Level=1;
  self.LevelNode = [[SKLabelNode alloc] init];
  self.LevelNode.position = CGPointMake(hud.size.width/2, 1);
  self.LevelNode.text=@"Level 1";
  self.LevelNode.fontSize=hud.size.height;
  [hud addChild:self.LevelNode];

  // pause button
  SKLabelNode* pauseButton = [[SKLabelNode alloc] init];
  pauseButton.position = CGPointMake(hud.size.width/1.5, 1);
  pauseButton.text=@"II";
  pauseButton.fontSize=hud.size.height;
  pauseButton.horizontalAlignmentMode = SKLabelHorizontalAlignmentModeCenter;
  pauseButton.name=@"PauseButton";
  [hud addChild:pauseButton];

  // score
  self.Score=0;
  self.ScoreNode = [[SKLabelNode alloc] init];
  self.ScoreNode.position = CGPointMake(hud.size.width-hud.size.width*.1, 1);
  self.ScoreNode.text=@"0";
  self.ScoreNode.fontSize=hud.size.height;
  [hud addChild:self.ScoreNode];
}
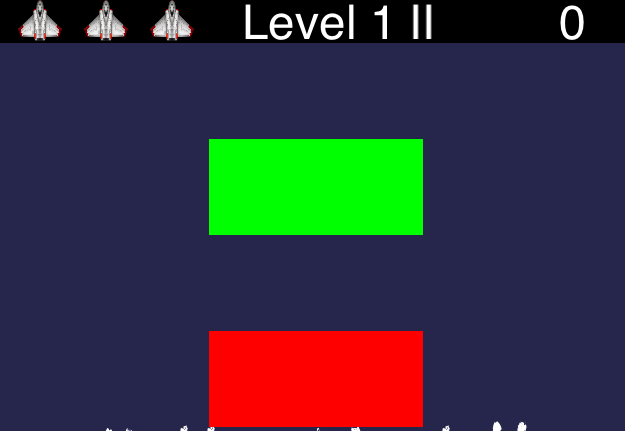
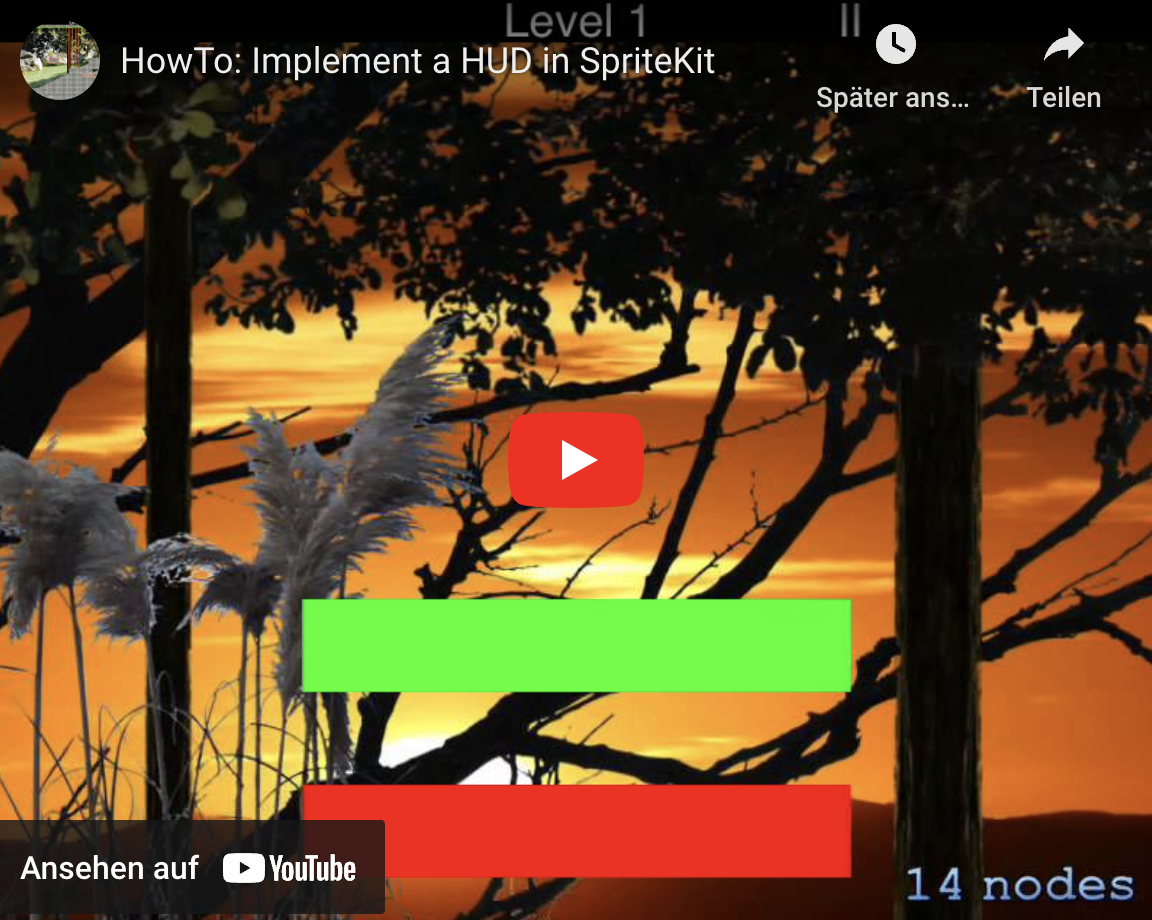
Start the Project. The Result should look like this:

Looks nice, but without interactions this is a little boring. Let’s add them!
6. Add Interactions:
First of all add two buttons to increase the score and to loose a life:
-(void)addMockUpButtons {
  SKSpriteNode*lifeLost = [[SKSpriteNode alloc] initWithColor:[UIColor redColor] size:CGSizeMake(self.size.width/3, self.size.height*0.1)];
  lifeLost.name=@"lifeLost";
  lifeLost.position=CGPointMake(self.size.width/2, lifeLost.size.height*6);
  [self addChild:lifeLost];
  SKSpriteNode*addScore = [[SKSpriteNode alloc] initWithColor:[UIColor greenColor] size:CGSizeMake(self.size.width/3, self.size.height*0.1)];
  addScore.name=@"addScore";
  addScore.position=CGPointMake(self.size.width/2, lifeLost.size.height*8);
  [self addChild:addScore];
}
Don’t forget to call this function in the initWithSize method:
[self addMockUpButtons];
7. Now, implement the touch handler:
-(void)touchesBegan:(NSSet *)touches withEvent:(UIEvent*)event {
// Get the element which is touched:
UITouch *touch = [touches anyObject];
CGPoint location = [touch locationInNode:self];
SKNode *node = [self nodeAtPoint:location];
// Trigger actions
if ([node.name isEqualToString:@"PauseButton"]) {
[self showPausedDialog];
} else if ([node.name isEqualToString:@"lifeLost"]) {
[self lifeLost];
} else if ([node.name isEqualToString:@"addScore"]) {
[self addScore];
}
}
-(void)addScore {
self.Score+=100;
self.ScoreNode.text=[NSString stringWithFormat:@"%d",self.Score];
}
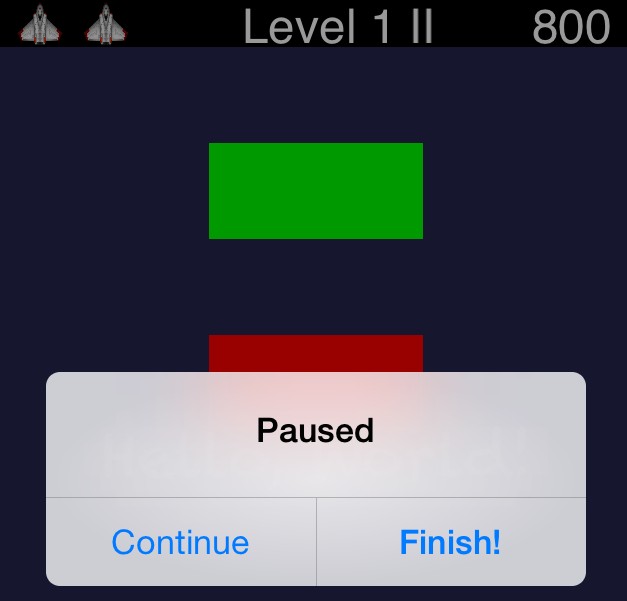
-(void)showPausedDialog {
UIAlertView *alert = [[UIAlertView alloc] initWithTitle:@"Paused" message:@"" delegate:self cancelButtonTitle:@"Continue" otherButtonTitles:@"Finish!", nil, nil];
alert.tag=1;
[alert show];
}
-(void)lifeLost {
if (_Lifes==1) {
[self.LifeNode1 removeFromParent];
[self showGameOverAlert];
} else {
if (self.Lifes==2) {
[self.LifeNode2 removeFromParent];
} else if (self.Lifes==3) {
[self.LifeNode3 removeFromParent];
}
}
self.Lifes--;
}
-(void)showGameOverAlert {
UIAlertView *alert = [[UIAlertView alloc] initWithTitle:@"Game Over" message:@"" delegate:self cancelButtonTitle:@"OK" otherButtonTitles:nil, nil, nil];
alert.tag=2;
[alert show];
}
Now let’s integrate this into the MyFirstGame project:
If you haven’t completed part 7, you can download the project from GitHub: v0.6.1
The result will look like this:
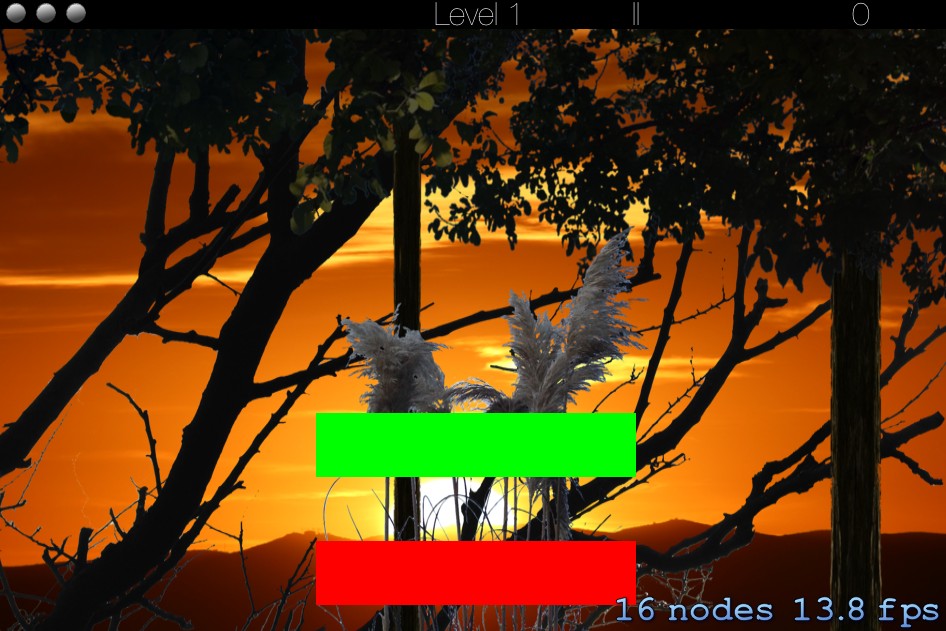
Most code of the sample above can be copied directly. I’ll only list the differences:
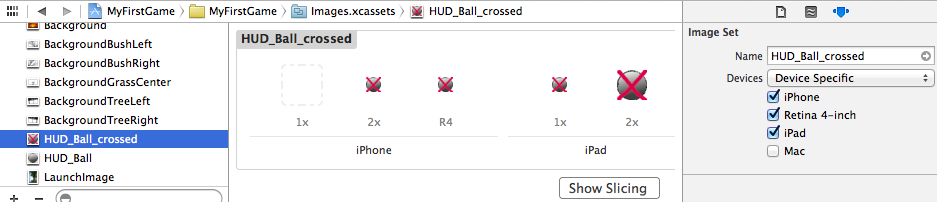
1. Different Icons

Instead of the spaceship, I’ll use a ball image. In case of loosing a life, this image will be replaced with a crossed ball. To achieve this just add two new image sets to the Asset catalog:
- HUD_Ball
- HUD_Ball_crossed
The icons for Retina and Retina-4-inch iPhones are identical:
2. Changes in createHUD method:
// Adds the HUD to the scene
-(void)createHUD {
  ...

  // remaining/lost lifes
  self.Lifes=3;
  self.LifeNode1 = [[SKSpriteNode alloc] initWithImageNamed:@"HUD_Ball"];
  self.LifeNode1.position=CGPointMake(self.LifeNode1.size.width, hud.size.height/2);
  [hud addChild:self.LifeNode1];
  self.LifeNode2 = [[SKSpriteNode alloc] initWithImageNamed:@"HUD_Ball"];
  self.LifeNode2.position=CGPointMake(self.LifeNode2.size.width*2.5, hud.size.height/2);
  [hud addChild:self.LifeNode2];
  self.LifeNode3 = [[SKSpriteNode alloc] initWithImageNamed:@"HUD_Ball"];
  self.LifeNode3.position=CGPointMake(self.LifeNode3.size.width*4, hud.size.height/2);
  [hud addChild:self.LifeNode3];

...
3. Changes in lifeLost method:
-(void)lifeLost {
  if (_Lifes==1) {
    self.LifeNode3.texture = [SKTexture textureWithImageNamed:@"HUD_Ball_crossed"];
    [self showGameOverAlert];
  } else {
    if (self.Lifes==2) {
      self.LifeNode2.texture = [SKTexture textureWithImageNamed:@"HUD_Ball_crossed"];
    } else if (self.Lifes==3) {
      self.LifeNode1.texture = [SKTexture textureWithImageNamed:@"HUD_Ball_crossed"];
    }
  }
  self.Lifes--;
}
As always you can download the complete project from GitHub: v0.7 That’s all for today. In my next post I’ll show how to organize your code with the #pragma mark directive.
Cheers,
Stefan