Game Center Integration
How to implement a space shooter with SpriteKit and SWIFT - Part 6
Adding Game Center Integration:

Lite Version
Full Version
Overview: How to implement a space shooter with SpriteKit and SWIFT
- Part 1: Initial project setup, sprite creation and movement using SKAction and SKConstraint
- Part 2: Adding enemies, bullets and shooting with SKAction and SKConstraint
- Part 3: Adding a HUD with SKLabelNode and SKSpriteNode
- Part 4: Adding basic game logic and collision detection
- Part 5: Adding particles and sound
- Part 6: GameCenter integration
- Part 7: iAd integration
- Part 8: In-App Purchases
Welcome to part 6 of my swift programming tutorial. In the previous parts we’ve created sprites, added movement, created enemies which follow our sprite, added bullets, a HUD, collision detection, sound and particle effects. Today I’ll show how to integrate Game Center to add a global leaderboard.
The most complex part is doing configuration stuff in iTunes Connect. 3 from 4 steps of this tutorial are related to that. You need a paid Apple Developer Account to execute the next steps:
- Upload our App to iTunes Connect
- Create a Leaderboard in iTunes Connect
- Create a Sandbox Test User in iTunes Connect
- Coding
Let’s start:
1. Upload App to iTunes Connect
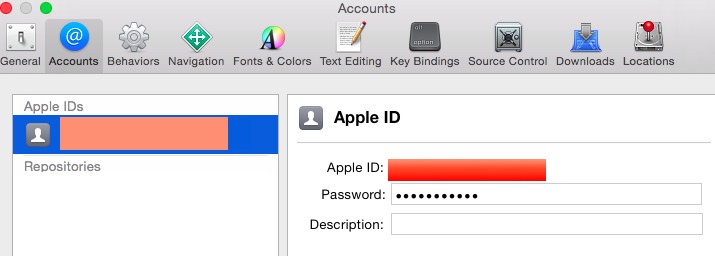
Check, if XCode is set up properly with your Apple account data:
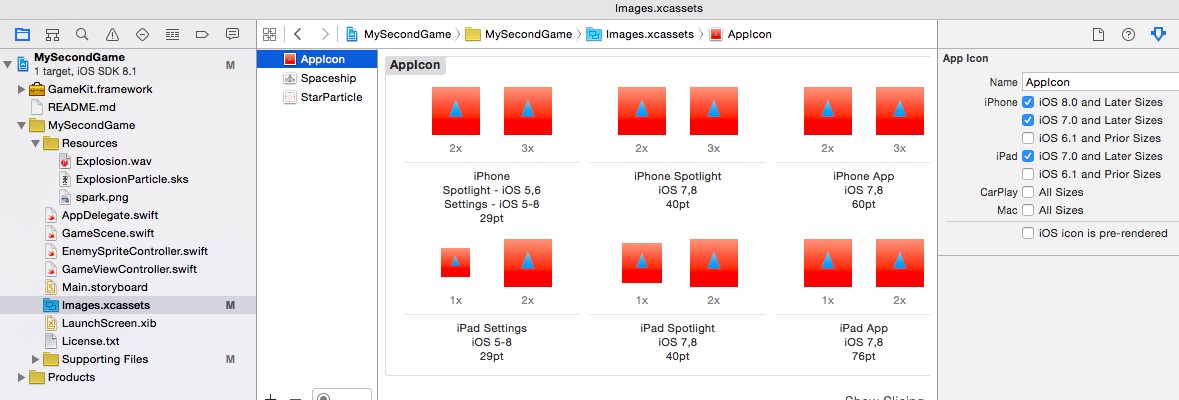
Before submitting your app add appropriate app icons to your project. Otherwise iTunes Connect will reject your upload:
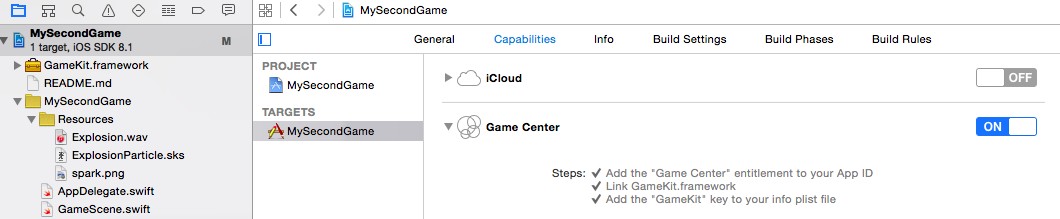
Enable Game Center in the Capabilities Tab of your project. Select your team profile and wait a few seconds till XCode has updated the project settings.
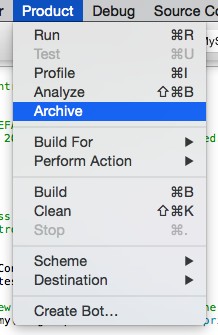
Create an Archive of your app:
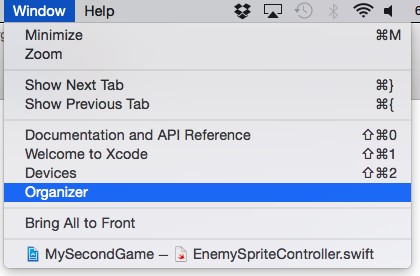
Open the Organizer window:
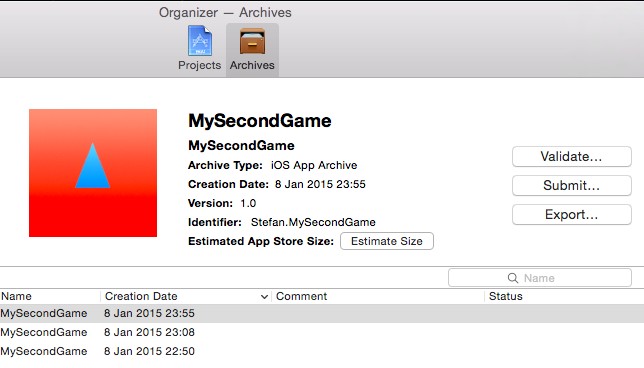
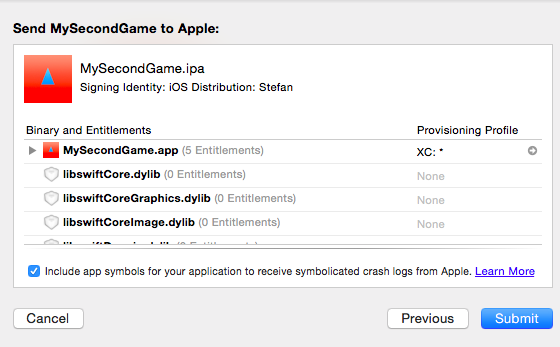
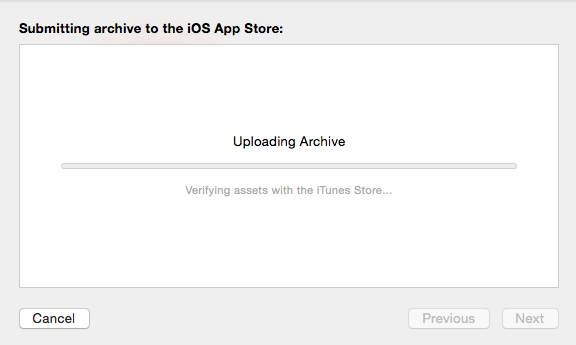
Click Submit choose your profile and submit your application to iTunesConnect
If you see this error message you haven’t created an AppId for your app in iTunesConnect:
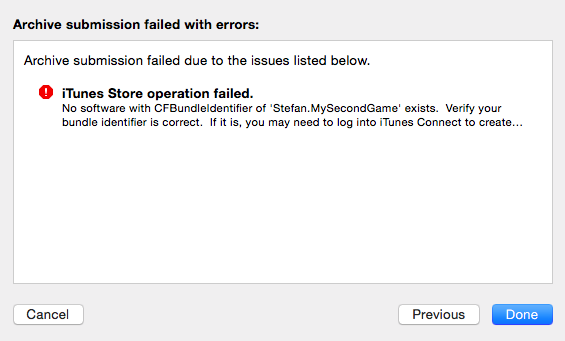
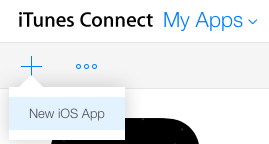
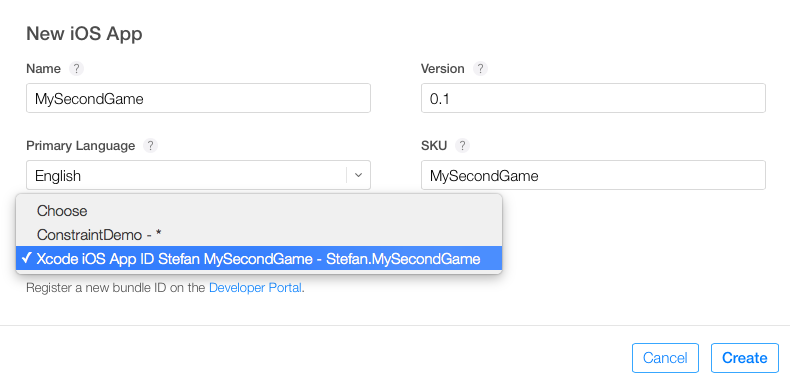
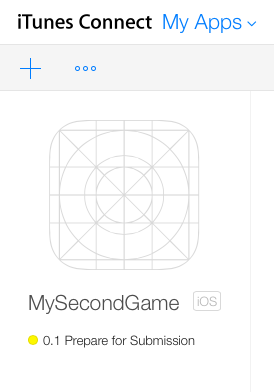
Open iTunesConnect in your browser, select MyApps, add a new app and fill out the required fields:
Go back to XCode, open the Organizer window and submit your app again:
2. Create a Leaderboard in iTunesConnect
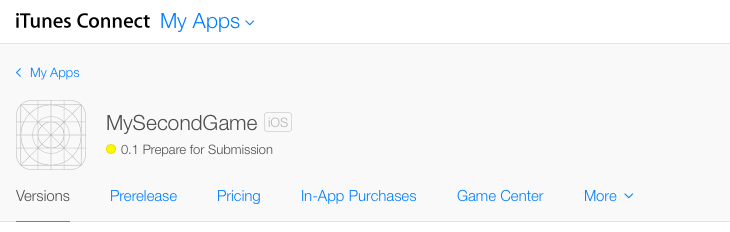
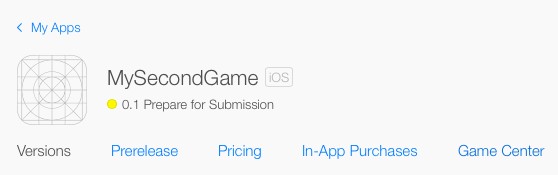
Open iTunesConnect and select your app:
Click on Game Center:
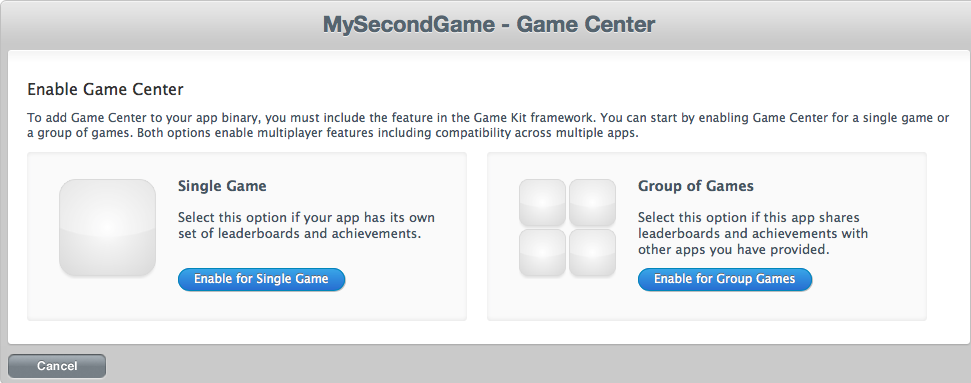
Select Single Game:
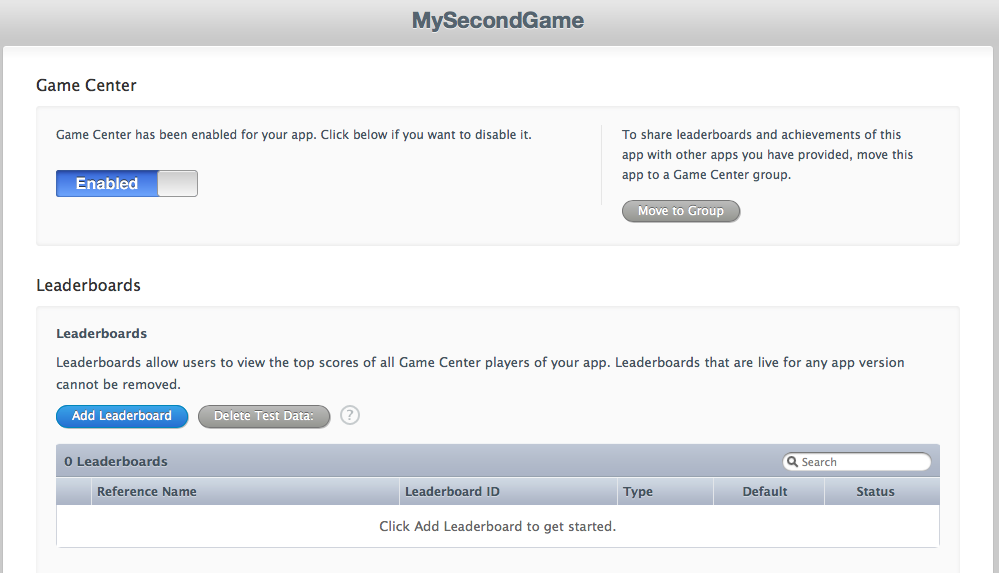
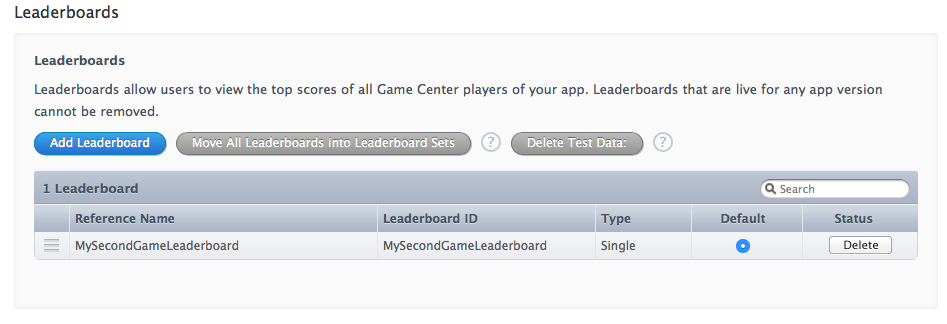
Select Add Leaderboard:
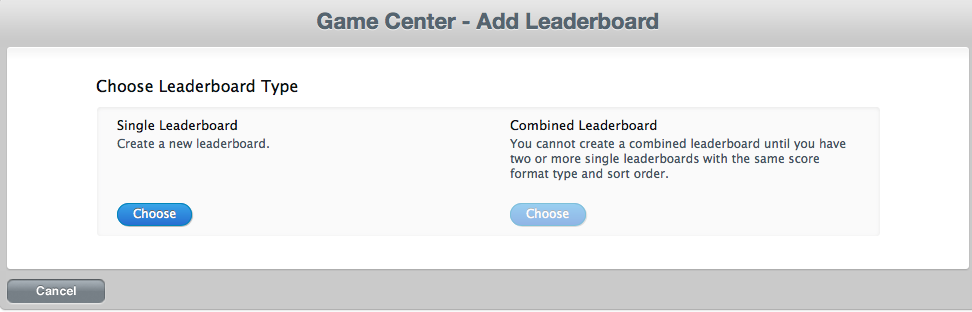
Choose Single Leaderboard:
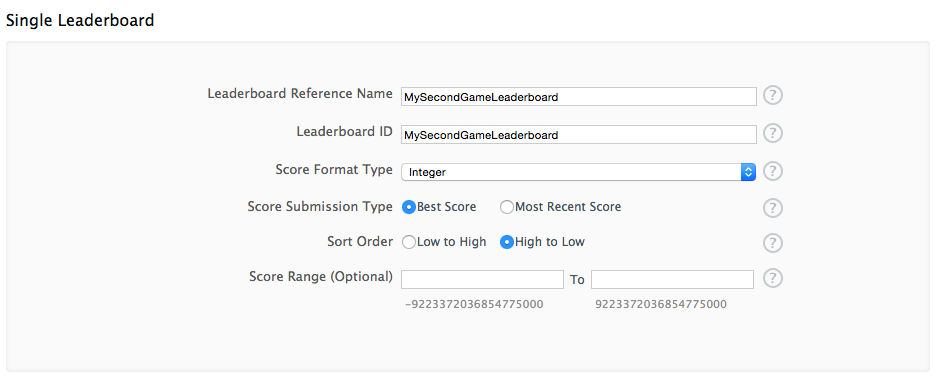
Configure your Leaderboard:
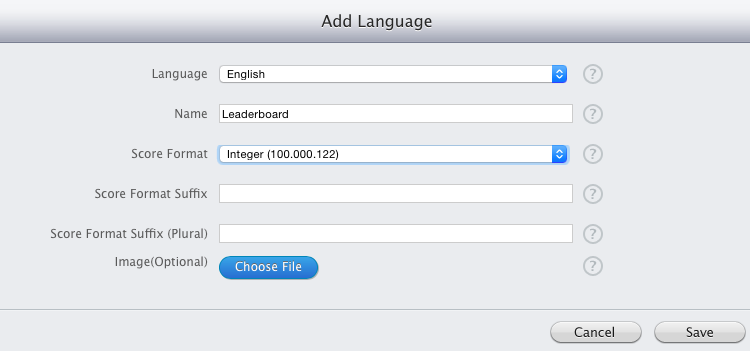
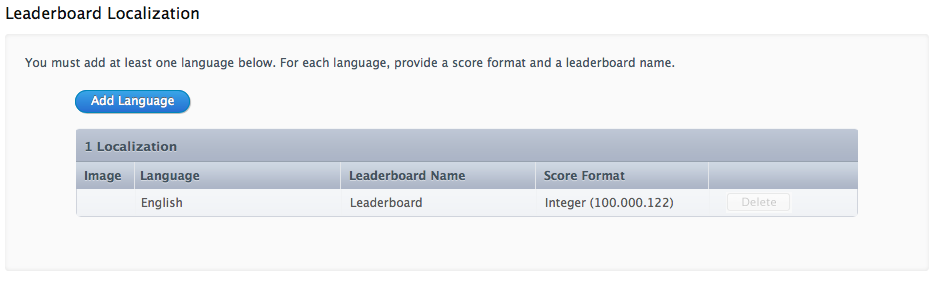
Add at least one language:
Confirm your changes by selecting Done. Now back to XCode.
3. Create a Sandbox Test User in iTunes Connect
To test the Game Center integration inside your App you need to create one or more Sandbox Testers in iTunes Connect. More details about creating them can be found in the Apple Documentation. Open the Users and Roles section in iTunes Connect:
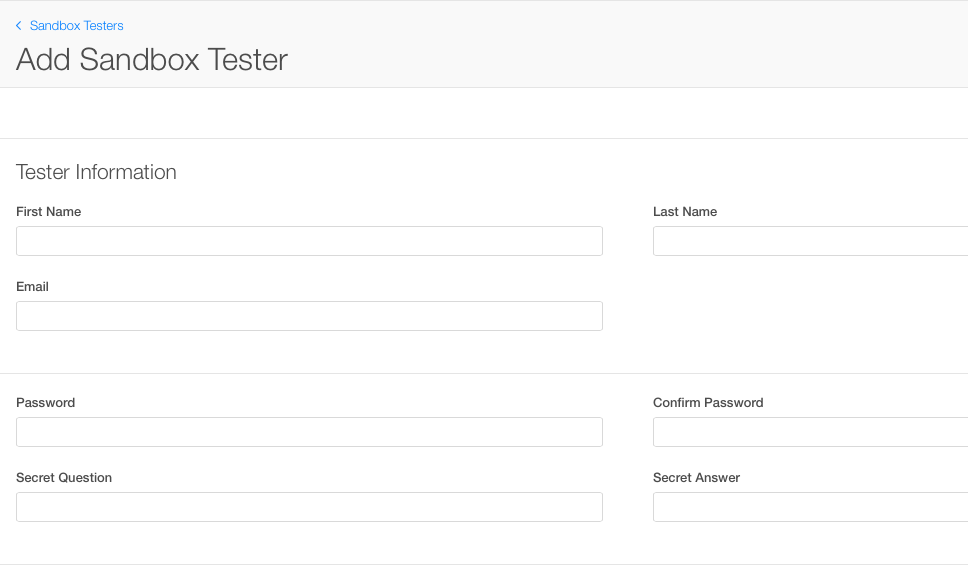
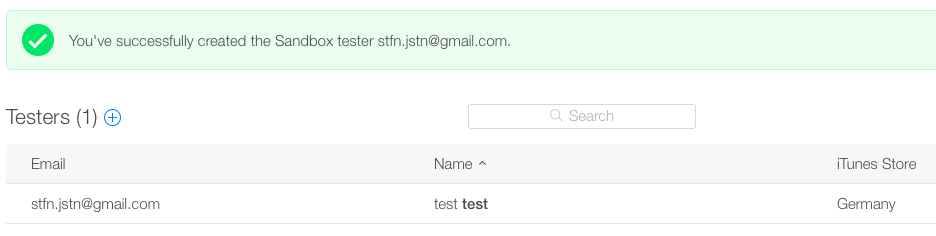
Choose the Sandbox Testers tab at the right and create at least one:

Fill out the required fields. You need a valid email account for this:
4. Coding
Comparing to the iTunes Connect stuff the code changes are simple. I’ll implement it in GameViewController.swift and GameScene.swift. As the first code change import the GameKit Framework in both files:
import GameKit
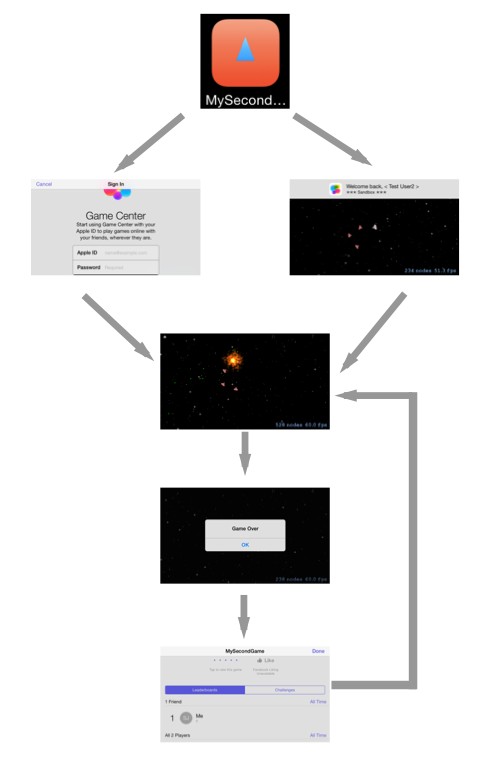
The next image shows the control flow of my game center integration:
Game Center initialization:
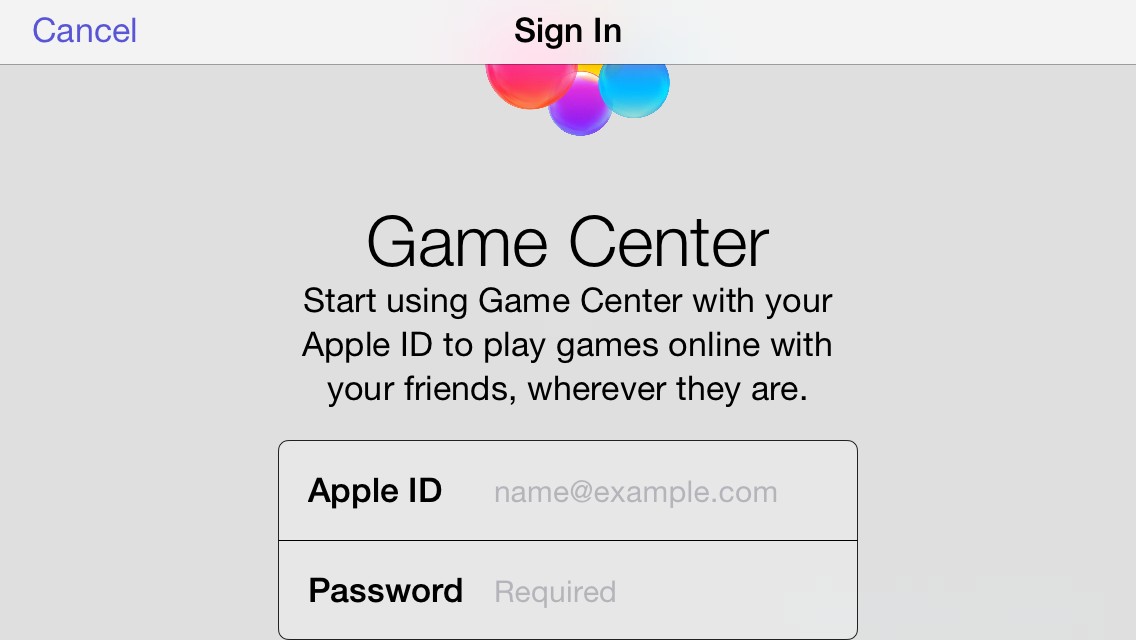
Check if Game Center is available. Otherwise present the Login Screen:
Move the Scene declaration outside the viewDidAppear method to make it a global property. This is necessary because you need to access the scene outside of viewDidAppear:
class GameViewController: UIViewController, GKGameCenterControllerDelegate, GameSceneProtocol {
  var scene : GameScene?
  override func viewDidAppear(animated: Bool) {
  super.viewDidAppear(animated)
  ...

  // Create a fullscreen Scene object
  scene = GameScene(size: CGSizeMake(width, height))
  scene!.scaleMode = .AspectFill
  ...
To implement this behavior open GameViewController.swift and add a new method initGameCenter:
// Initialize Game Center
func initGameCenter() {

  // Check if user is already authenticated in game center
  if GKLocalPlayer.localPlayer().authenticated == false {
    // Show the Login Prompt for Game Center
    GKLocalPlayer.localPlayer().authenticateHandler = {(viewController, error) -> Void in
      if viewController != nil {
        self.scene!.gamePaused = true
        self.presentViewController(viewController, animated: true, completion: nil)

        // Add an observer which calls 'gameCenterStateChanged' to handle a changed game center state
        let notificationCenter = NSNotificationCenter.defaultCenter()
        notificationCenter.addObserver(self, selector:"gameCenterStateChanged", name: "GKPlayerAuthenticationDidChangeNotificationName", object: nil)
      }
    }
  }
}
Add another method to GameViewController.swift which will be called by the observer created before in case of a changed game center change:
// Continue the Game, if GameCenter Authentication state
// has been changed (login dialog is closed)
func gameCenterStateChanged() {
  self.scene!.gamePaused = false
}
Finally call initGameCenter in the viewDidLoad method:
override func viewDidLoad() {
  super.viewDidLoad()

  // Initialize game center
  self.initGameCenter()
}
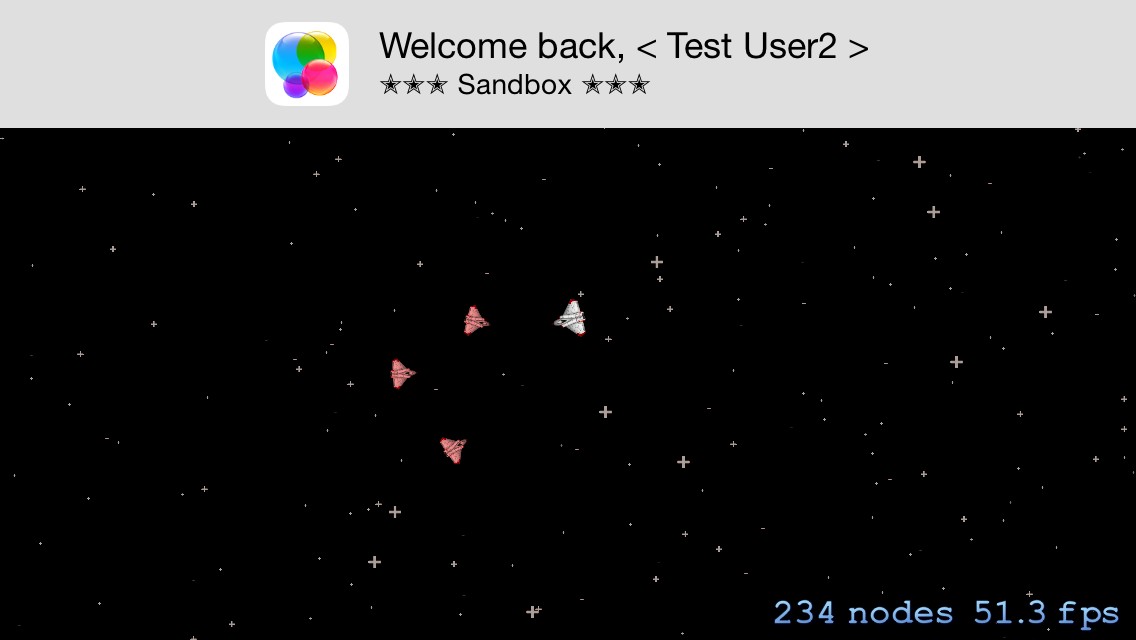
You can use your sandbox test user to test this on a device. Go to the Settings Dialog, open Game Center and click on Apple-ID. The current user must logout. Scroll down to the developer section and activate the Sandbox switch. Now start the game and login with your test user.
Submit a new leaderboard score:
Open GameScene.swift and change the type of the global score property from Integer:
var score = 0
to Int64, the type chosen for the leaderboard
var score : Int64 = 0
Add another global property to store a game over state:
var gameOver = false
Modify the update method to handle the new gameOver property:
override func update(currentTime: CFTimeInterval) {
  if !self.gamePaused && !self.gameOver {
    ...
  }
}
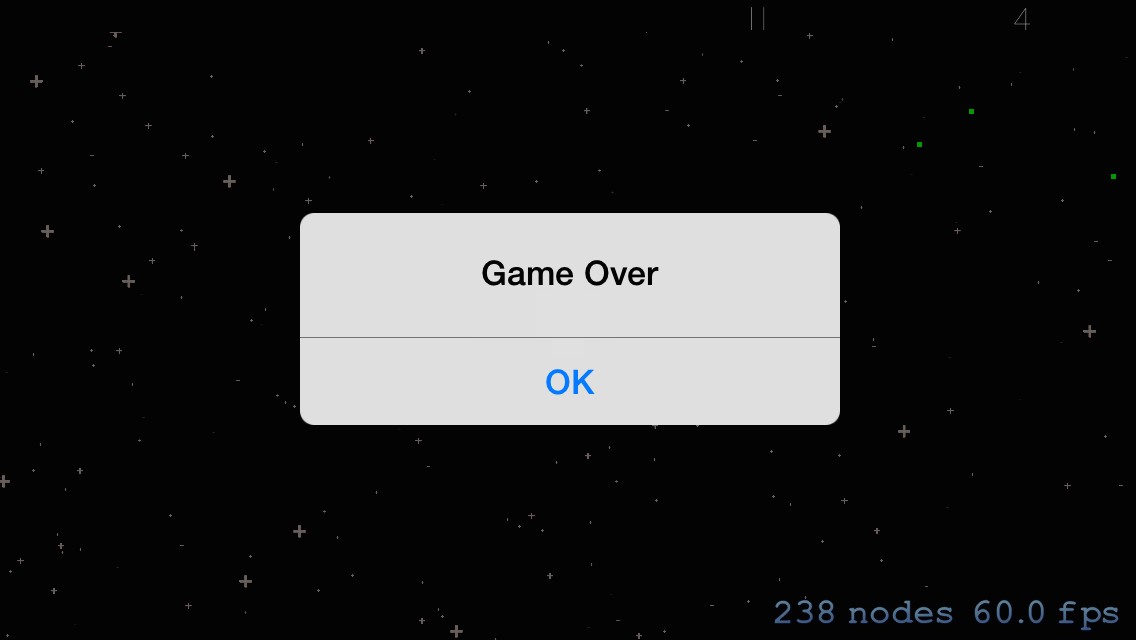
Add/Remove the red marked lines in the showGameOverAlert method of
func showGameOverAlert() {
  self.gamePaused = true
  self.gameOver = true
  var alert = UIAlertController(title: "Game Over", message: "", preferredStyle: UIAlertControllerStyle.Alert)
  alert.addAction(UIAlertAction(title: "OK", style: UIAlertActionStyle.Default) { _ in
    // restore lifes in HUD
    self.remainingLifes=3
    for(var i = 0; i<3; i++) {
      self.lifeNodes[i].alpha=1.0
    }

    // reset score
    self.addLeaderboardScore(self.score)
    self.score=0
    self.scoreNode.text = String(0)
    self.gamePaused = true
  })
}
Add a new method addLeaderboardScore to submit a new score:
func addLeaderboardScore(score: Int64) {
  var newGCScore = GKScore(leaderboardIdentifier: "MySecondGameLeaderboard")
  newGCScore.value = score
  GKScore.reportScores([newGCScore], withCompletionHandler: {(error) -> Void in
    if error != nil {
      println("Score not submitted")
      // Continue
      self.gameOver = false
    } else {
      // Notify the delegate to show the game center leaderboard:
      // Not implemented yet
    }
  })
}
Show the Game Center leaderboard after game over:
The game center leaderboard can only be called/shown from a ViewController, not inside a SpriteKit Scene. To notify the container ViewController of our scene add a protocol to GameScene.swift:
// protocol to inform the delegate (GameViewController) about a game over situation
protocol GameSceneDelegate {
  func gameOver()

  }
Don’t forget to create a global Delegate Property:
var gameCenterDelegate : GameSceneDelegate?
Modify addLeaderboardScore to notify the delegate:
func addLeaderboardScore(score: Int64) {
  var newGCScore = GKScore(leaderboardIdentifier: "MySecondGameLeaderboard")
  newGCScore.value = score
  GKScore.reportScores([newGCScore], withCompletionHandler: {(error) -> Void in
    if error != nil {
      println("Score not submitted")
      // Continue
      self.gameOver = false
    } else {
      // Notify the delegate to show the game center leaderboard
      self.gameCenterDelegate!.gameOver()
    }
  })
}
Open GameViewController.swift and add these protocols to the declaration of GameViewController:
class GameViewController: UIViewController, GameSceneDelegate, GKGameCenterControllerDelegate{
The first one is used by our game scene class to notify about a game over event. The second one is provided by GameKit to notify when the leaderboard has been closed.
Now set the Delegate property for the scene class:
override func viewDidAppear(animated: Bool) {
  ...

  // Create a fullscreen Scene object
  scene = GameScene(size: CGSizeMake(width, height))
  scene!.scaleMode = .AspectFill
  scene!.gameCenterDelegate = self
To show the leaderboard implement the gameOver protocol method:
// Show game center leaderboard
func gameOver() {
  var gcViewController = GKGameCenterViewController()
  gcViewController.gameCenterDelegate = self
  gcViewController.viewState = GKGameCenterViewControllerState.Leaderboards
  gcViewController.leaderboardIdentifier = "MySecondGameLeaderboard"

  // Show leaderboard
  self.presentViewController(gcViewController, animated: true, completion: nil)
}
To continue the game implement this protocol method:
// Continue the game after GameCenter is closed
func gameCenterViewControllerDidFinish(gameCenterViewController: GKGameCenterViewController!) {
  gameCenterViewController.dismissViewControllerAnimated(true, completion: nil)
  scene!.gameOver = false
}
That’s all for today. You can download the code from GitHub: Part 6 or the latest version. In my next tutorial I’ll show how to integrate Apples advertising framework iAD. You can also download my prototyping App for this tutorial series:
Lite Version
Full Version
Cheers,
Stefan