In-App Purchases
How to implement a space shooter with SpriteKit and SWIFT - Part 8
In-App Purchases:
Tutorial Overview: How to implement a space shooter with SpriteKit and SWIFT
- Part 1: Initial project setup, sprite creation and movement using SKAction and SKConstraint
- Part 2: Adding enemies, bullets and shooting with SKAction and SKConstraint
- Part 3: Adding a HUD with SKLabelNode and SKSpriteNode
- Part 4: Adding basic game logic and collision detection
- Part 5: Adding particles and sound
- Part 6: GameCenter integration
- Part 7: iAd integration
- Part 8: In-App Purchases
Adding In-App Purchases:
Welcome to part 8 of my swift programming tutorial. Today I’ll show how to implement In-App Purchases:
- Create In-App Purchases in iTunesConnect
- Implement In-App Purchases
- Test and upload to iTunesConnect
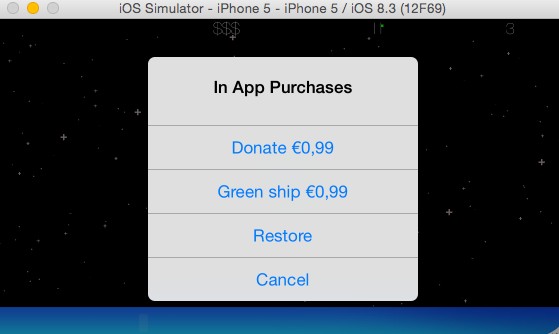
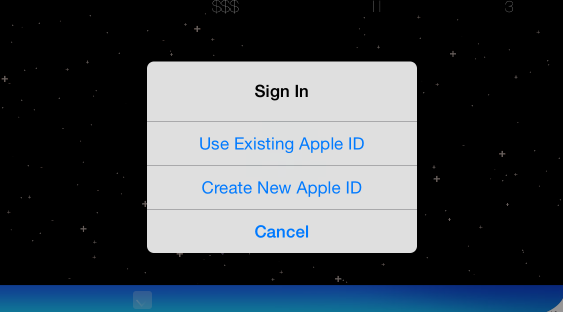
As a starting point you can download the sample project from my GitHub repository.
Let’s start:
1. Create In-App Purchases in iTunes Connect
You need a paid Apple Developer Account to execute the next steps. For details about the process to upload Apps to iTunes Connect check tutorial part 6.
Browse to iTunes Connect and open your App:
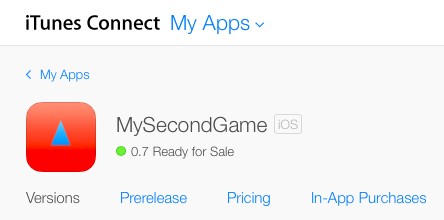
Choose In-App Purchases and click on Create New:

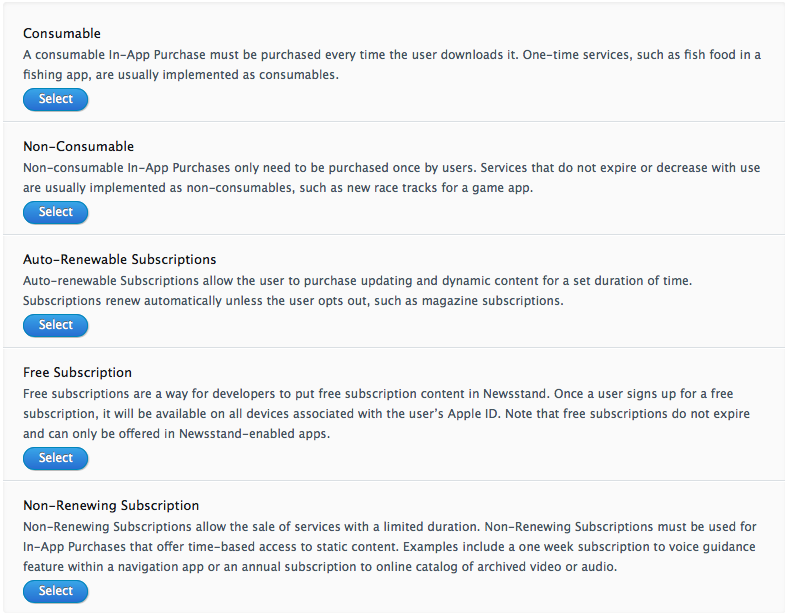
You see several different types of possible purchases. In this tutorial I’ll show a ‘Consumable ‘ and a ‘Non-Consumable ‘ purchase.
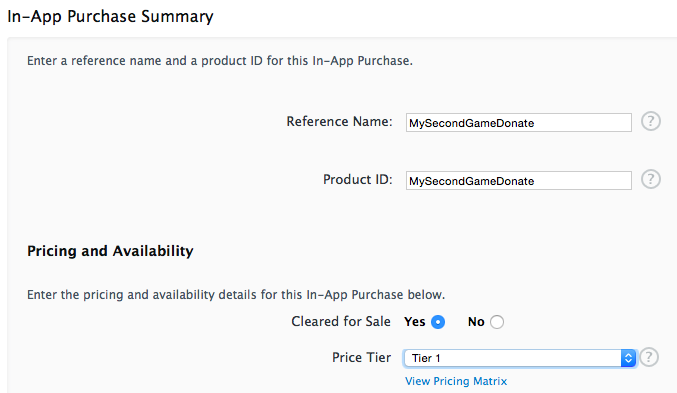
Create the Consumable purchase:

Enter Reference Name , Product ID and Price Tier:
Add Display Name and Description at least for one language:

Additionally a screenshot is needed for the review team:

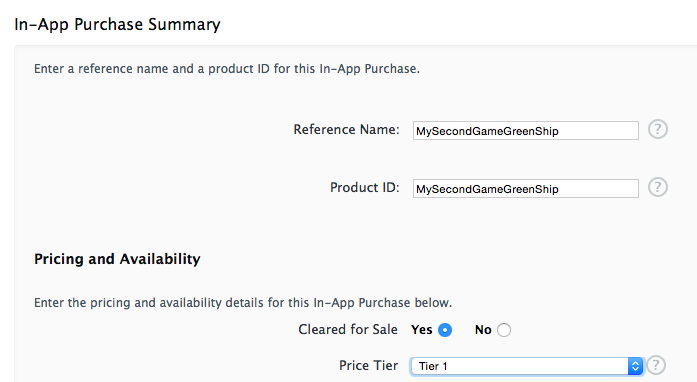
Now do the same for the Non-Consumable purchase:

The final result should look like this:
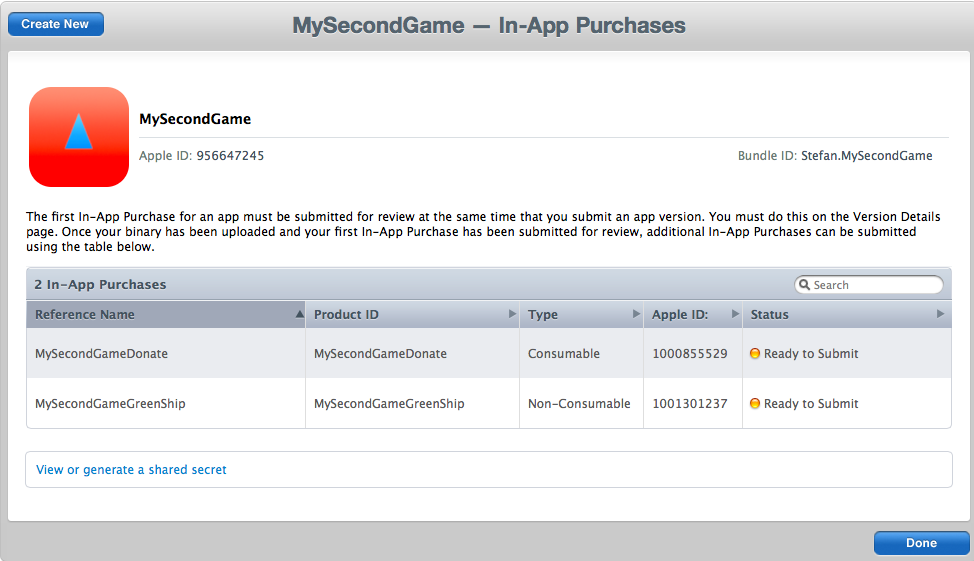
2. Implement In-App Purchases
Open your project in XCode (sample project is available here), navigate to the Capabilities configuration page and enable In-App Purchases : 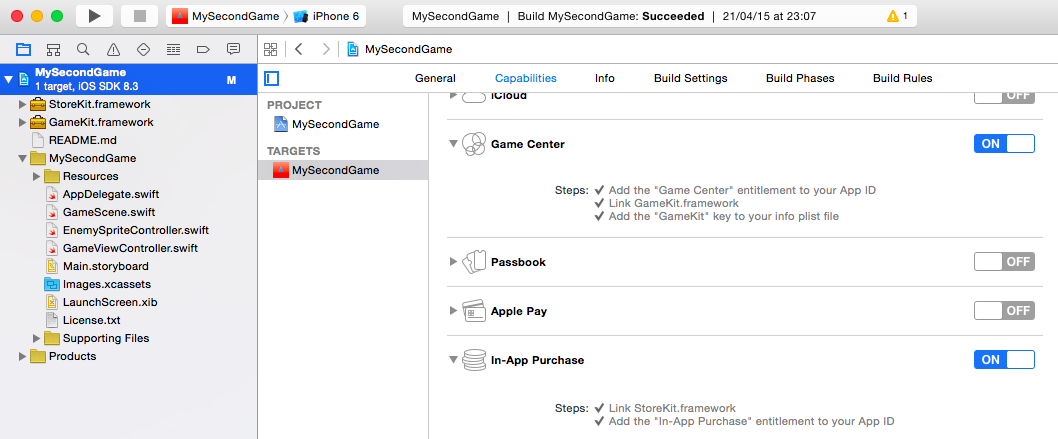 Xcode will include the StoreKit framework and add the In-App Purchase entitlement automatically.
2.1. Add a button to trigger the purchases:
Open the createHUD method in GameScene.swift and add this code snippet to add a ‘$$$’ button to the header: 
func createHUD() {
  ...

  // Add a $ Button for In-App Purchases:
  var purchaseButton = SKLabelNode()
  purchaseButton.position = CGPointMake(hud.size.width/1.5, 1)
  purchaseButton.text="$$$"
  purchaseButton.fontSize=hud.size.height
  purchaseButton.horizontalAlignmentMode = SKLabelHorizontalAlignmentMode.Center
  purchaseButton.name="PurchaseButton"
Add these two lines to touchesBegan to call inAppPurchase :
override func touchesBegan(touches: Set<NSObject>, withEvent event: UIEvent) {
  /* Called when a touch begins */
  for touch in (touches as! Set<UITouch>) {
    var location = touch.locationInNode(self)
    var node = self.nodeAtPoint(location)
    if (node.name == "PauseButton") || (node.name == "PauseButtonContainer") {
      showPauseAlert()
    } else if (node.name == "PurchaseButton") {
      inAppPurchase()
    } else {
      ...
Add an empty inAppPurchase method:
func inAppPurchase() {

}
2.2. Implement Puchase
All changes will be done in GameScene.swift. Import the StoreKit framework: import StoreKit Add the StoreKit protocols:
class GameScene: SKScene, SKPhysicsContactDelegatee, SKPaymentTransactionObserver, SKProductsRequestDelegate {
Add these lines at the end of the didMoveToView method to initialise the purchase objects and to check if the new feature is already purchased:
// In-App Purchase
initInAppPurchases()
checkAndActivateGreenShip()
I’ve documented the missing methods in the code itself:
// ---------------------------------
// ---- Handle In-App Purchases ----
// ---------------------------------
private var request : SKProductsRequest!
private var products : [SKProduct] = [] // List of available purchases
private var greenShipPurchased = false // Used to enable/disable the 'green ship' feature

// Open a menu with the available purchases
func inAppPurchase() {
  var alert = UIAlertController(title: "In App Purchases", message: "", preferredStyle: UIAlertControllerStyle.Alert)
  self.gamePaused = true

  // Add an alert action for each available product
  for (var i = 0; i < products.count; i++) {
    var currentProduct = products[i]
    if !(currentProduct.productIdentifier == "MySecondGameGreenShip" && greenShipPurchased) {
      // Get the localized price
      let numberFormatter = NSNumberFormatter()
      numberFormatter.numberStyle = .CurrencyStyle
      numberFormatter.locale = currentProduct.priceLocale

      // Add the alert action
      alert.addAction(UIAlertAction(title: currentProduct.localizedTitle \+ " " \+ numberFormatter.stringFromNumber(currentProduct.price)!, style: UIAlertActionStyle.Default) { _ in
        // Perform the purchase
        self.buyProduct(currentProduct)
        self.gamePaused = false
      })
    }
  }

  // Offer the restore option only if purchase info is not available
  if(greenShipPurchased == false) {
    alert.addAction(UIAlertAction(title: "Restore", style: UIAlertActionStyle.Default) { _ in
      self.restorePurchasedProducts()
      self.gamePaused = false
    })
  }
  alert.addAction(UIAlertAction(title: "Cancel", style: UIAlertActionStyle.Default) { _ in
    self.gamePaused = false
  })

  // Show the alert
  self.view?.window?.rootViewController?.presentViewController(alert, animated: true, completion: nil)

  }

  // Initialize the App Purchases
func initInAppPurchases() {
  SKPaymentQueue.defaultQueue().addTransactionObserver(self)

  // Get the list of possible purchases
  if self.request == nil {
    self.request = SKProductsRequest(productIdentifiers: Set(["MySecondGameGreenShip","MySecondGameDonate"]))
    self.request.delegate = self
    self.request.start()
  }
}

// Request a purchase
func buyProduct(product: SKProduct) {
  let payment = SKPayment(product: product)
  SKPaymentQueue.defaultQueue().addPayment(payment)
}

// Restore purchases
func restorePurchasedProducts() {
  SKPaymentQueue.defaultQueue().restoreCompletedTransactions()
}

// StoreKit protocoll method. Called when the AppStore responds
func productsRequest(request: SKProductsRequest!, didReceiveResponse response: SKProductsResponse!) {
  self.products = response.products as! [SKProduct]
  self.request = nil
}

// StoreKit protocoll method. Called when an error happens in the communication with the AppStore
func request(request: SKRequest!, didFailWithError error: NSError!) {
  println(error)
  self.request = nil
}

// StoreKit protocoll method. Called after the purchase
func paymentQueue(queue: SKPaymentQueue!, updatedTransactions transactions: [AnyObject]!) {
  for transaction in transactions as! [SKPaymentTransaction] {
    switch (transaction.transactionState) {
    case .Purchased:
      if transaction.payment.productIdentifier == "MySecondGameGreenShip" {
        handleGreenShipPurchased()
      }
      queue.finishTransaction(transaction)
    case .Restored:
      if transaction.payment.productIdentifier == "MySecondGameGreenShip" {
        handleGreenShipPurchased()
      }
      queue.finishTransaction(transaction)
    case .Failed:
      println("Payment Error: %@", transaction.error)
      queue.finishTransaction(transaction)
    default:
      println("Transaction State: %@", transaction.transactionState)
    }
  }
}

// Called after the purchase to provide the 'green ship' feature
func handleGreenShipPurchased() {
  greenShipPurchased = true
  checkAndActivateGreenShip()

  // persist the purchase locally
  NSUserDefaults.standardUserDefaults().setBool(true, forKey: "MySecondGameGreenShip")
}

// Called after applicattion start to check if the 'green ship' feature was purchased
func checkAndActivateGreenShip() {
  if NSUserDefaults.standardUserDefaults().boolForKey("MySecondGameGreenShip") {
    greenShipPurchased = true
    heroSprite.color = UIColor.greenColor()
    heroSprite.colorBlendFactor=0.8
  }
}
Test and upload to iTunes Connect
You need a Sandbox Test User to test the purchases. I’ve described the steps to create one in part 6. 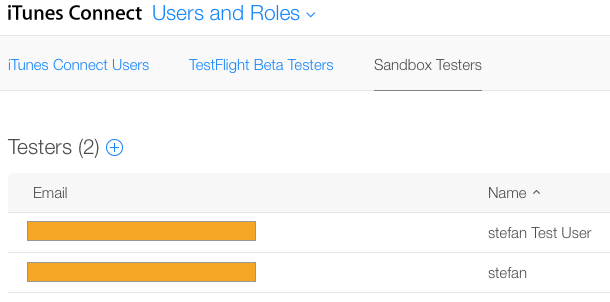
Testing is only possible on a real device. If you try a purchase in the simulator, you’ll receive an error message: AppStore is not available. And don’t forget to set the checkmarks on your purchases to include them to your them to your application bundle, before submitting a new version in iTunesConnect.
That’s all for today. The SourceCode of this tutorial is available at GitHub. To see In-App Purchase in action you can download my free game in the AppStore. The In-App Purchase update will be released in the next days.
Cheers,
Stefan
