Collision Detection
How to implement a space shooter with SpriteKit and SWIFT - Part 4
Adding basic game logic and collision detection:
Tutorial Overview: How to implement a space shooter with SpriteKit and SWIFT
- Part 1: Initial project setup, sprite creation and movement using SKAction and SKConstraint
- Part 2: Adding enemies, bullets and shooting with SKAction and SKConstraint
- Part 3: Adding a HUD with SKLabelNode and SKSpriteNode
- Part 4: Adding basic game logic and collision detection
- Part 5: Adding particles and sound
- Part 6: GameCenter integration
- Part 7: iAd integration
- Part 8: In-App Purchases
Welcome to part 4 of my tutorial series. In the previous parts we’ve created a sprite, added movement, created enemies which follow our sprite, added bullets and a HUD. But, for a real game some essential parts are missing:
- Collision detection between the bullets and our sprite
- Basic game logic
- Scoring
- Pause
- Life Lost & Game Over
I’ll show how to implement this today. As a starting point you can download the code from tutorial part 3 here.
1. Collision Detection
Sprite Kit makes it increadible easy to implement collision detection.
1.1. Add the SKPhysicsContactDelegate Interface and implement the didBeginContact delegate method inside GameScene.swift:
class GameScene: SKScene, SKPhysicsContactDelegate {
  ...
  func didBeginContact(contact: SKPhysicsContact) {

  }
  ...
}
1.2. Set the delegate at the end of didMoveToView:
override func didMoveToView(view: SKView) {
  ...

  // Handle collisions
  self.physicsWorld.contactDelegate = self
}
1.3. Create Collision Categories:
We have two different sprite types which can collide. The Hero sprite and the bullets. I’ve created them outside the class as global constants, because we need the categories also in other classes.
import SpriteKit

let collisionBulletCategory: UInt32 = 0x1 << 0
let collisionHeroCategory: UInt32 = 0x1 << 1
class GameScene: SKScene, SKPhysicsContactDelegate {
1.4. Create a physics bodies for the sprites:
We have to add a physics body to our hero and bullet sprites. After that the built in physics engine of SpriteKit will handle the collision detection automatically. SpriteKit provides several possibilities to define the shape of the SKPhysicsBody. The easiest is a rectangle. This is not accurate enough for bullets, but not for the Hero sprite. A triangle would be better. Perfect in this scenario is to use the ship texture. That means SpriteKit will use all non transparent pixels to detect the shape by itself:

Inside of didMoveToView in GameScene.swift add this code snippet after the sprite creation:
// Add physics body for collision detection
heroSprite.physicsBody?.dynamic = true
heroSprite.physicsBody = SKPhysicsBody(texture: heroSprite.texture, size: heroSprite.size)
heroSprite.physicsBody?.affectedByGravity = false
heroSprite.physicsBody?.categoryBitMask = collisionHeroCategory
heroSprite.physicsBody?.contactTestBitMask = collisionBulletCategory
heroSprite.physicsBody?.collisionBitMask = 0x0
Inside of shoot in EnemySpriteController.swift add this code snippet after the sprite creation:

// Add physics body for collision detection
bullet.physicsBody = SKPhysicsBody(rectangleOfSize: bullet.frame.size)
bullet.physicsBody?.dynamic = true
bullet.physicsBody?.affectedByGravity = false
bullet.physicsBody?.categoryBitMask = collisionBulletCategory
bullet.physicsBody?.contactTestBitMask = collisionHeroCategory
bullet.physicsBody?.collisionBitMask = 0x0;
The categoryBitMask defines the sprite category. The contactTestBitMask define with which sprite categories a collision will be checked. Now you can add a breakpoint at the didBeginContact method and run the game to check if the collisions are detected.
2. Basic Game Logic
2.1. Scoring

I’ll create a very simple scoring mechanism: Everytime an enemy is shooting, the score will increase. Hence the label and the score property have been implemented in the last post, only two additional lines are needed in the update method.
override func update(currentTime: CFTimeInterval) {
  if currentTime - _dLastShootTime >= 1 {
    enemySprites.shoot(heroSprite)
    _dLastShootTime=currentTime

    // Increase score
    self.score++
    self.scoreNode.text = String(score)
  }
}
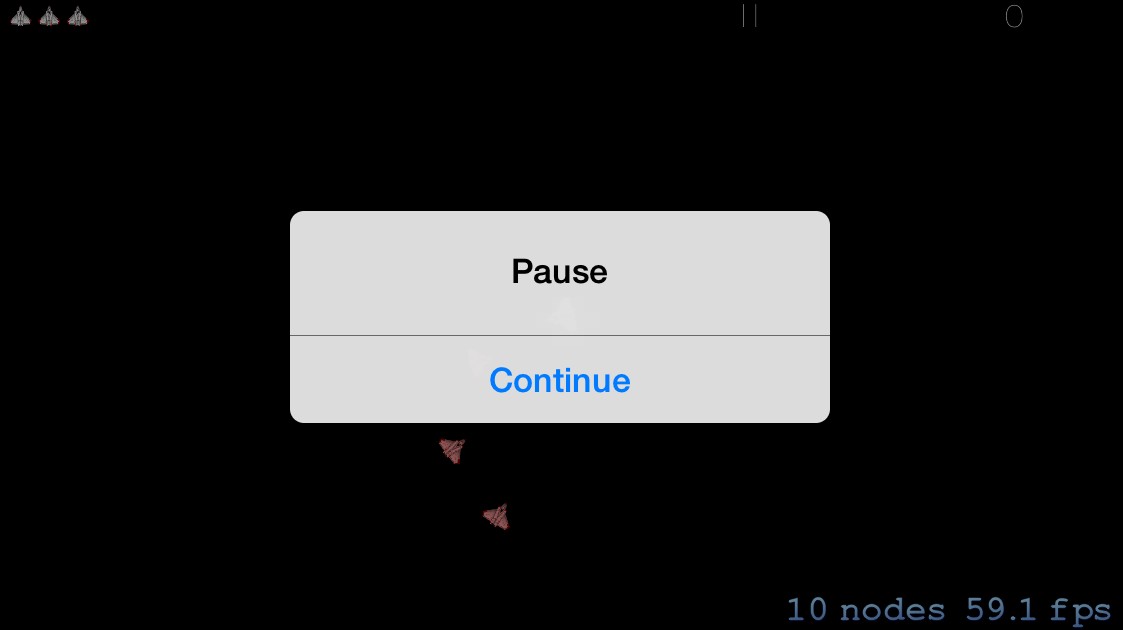
2.2. Pause button

The pause button was created as part of the HUD in part 3 of my tutorial. To detect if the pause button is touched the button and it’s container have an unique name: PauseButton and PauseButtonContainer. Now extend the touchesBegan method to check, if pause has been pressed:
override func touchesBegan(touches: NSSet, withEvent event: UIEvent) {
  /* Called when a touch begins */
  for touch: AnyObject in touches {
    var location = touch.locationInNode(self)
    var node = self.nodeAtPoint(location)
    if (node.name == "PauseButton") || (node.name == "PauseButtonContainer") {
      showPauseAlert()
    } else {
      ...
    }
  }
}
Add a new global property to store the gamePaused state, if the pause button is pressed:
var gamePaused = false
Add a new method for the pause handling to show an UIAlertController:
// Show Pause Alert
func showPauseAlert() {
  self.gamePaused = true
  var alert = UIAlertController(title: "Pause", message: "", preferredStyle: UIAlertControllerStyle.Alert)
  alert.addAction(UIAlertAction(title: "Continue", style: UIAlertActionStyle.Default) { _ in
    self.gamePaused = false
  })
  self.view?.window?.rootViewController?.presentViewController(alert, animated: true, completion: nil)
}
Inside of update check for gamePaused state
override func update(currentTime: CFTimeInterval) {
  if !self.gamePaused {
    ...
  }
}
Inside of didBeginContact check for gamePaused state:
func didBeginContact(contact: SKPhysicsContact) {
  if !self.gamePaused {

  }
}

2.3. LifeLost & GameOver

Everytime a collision is detected one life is lost and will be removed from the HUD. This is handled in the new lifeLost new method:
func lifeLost() {
  self.gamePaused = true

  // remove one life from hud
  if self.remainingLifes>0 {
    self.lifeNodes[remainingLifes-1].alpha=0.0
    self.remainingLifes--;
  }

  // check if remaining lifes exists
  if (self.remainingLifes==0) {
    showGameOverAlert()
  }

  // Stop movement, fade out, move to center, fade in
  heroSprite.removeAllActions()
  self.heroSprite.runAction(SKAction.fadeOutWithDuration(1) , completion: {
    self.heroSprite.position = CGPointMake(self.size.width/2, self.size.height/2)
    self.heroSprite.runAction(SKAction.fadeInWithDuration(1), completion: {
      self.gamePaused = false
    })
  })
}
lifeLost is called inside of didBeginContact:
func didBeginContact(contact: SKPhysicsContact) {
  if !self.gamePaused {
    lifeLost()
  }
}
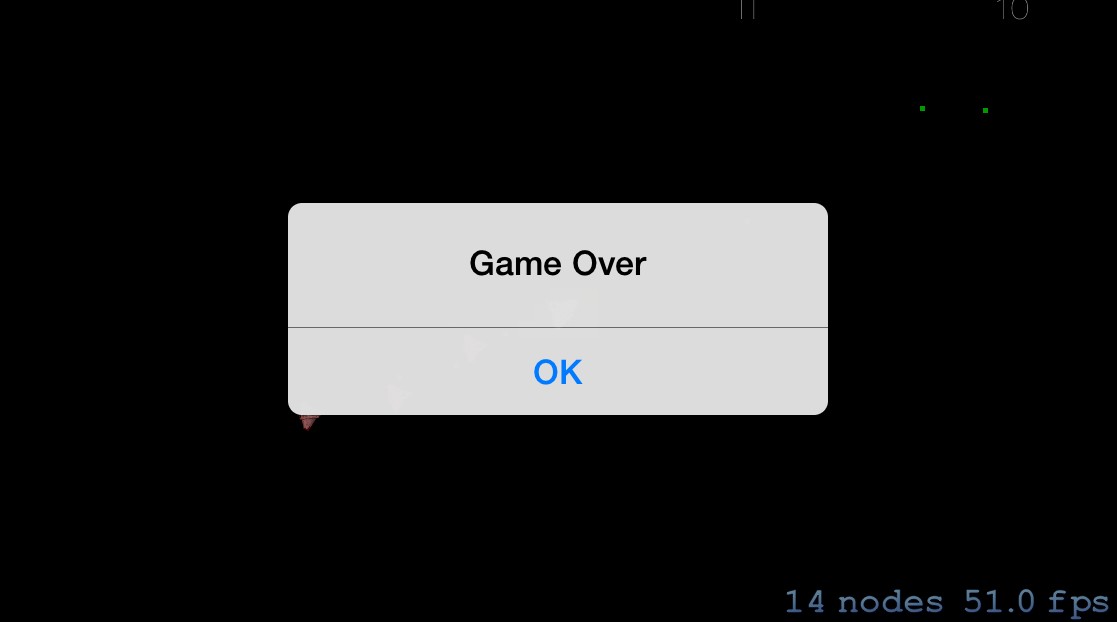
If the last life is lost a GameOver Dialog will be shown:
func showGameOverAlert() {
  self.gamePaused = true
  var alert = UIAlertController(title: "Game Over", message: "", preferredStyle: UIAlertControllerStyle.Alert)
  alert.addAction(UIAlertAction(title: "OK", style: UIAlertActionStyle.Default) { _ in
    // restore lifes in HUD
    self.remainingLifes=3
    for(var i = 0; i<3; i++) {
      self.lifeNodes[i].alpha=1.0
    }

    // reset score
    self.score=0
    self.scoreNode.text = String(0)
    self.gamePaused = false
  })

  // show alert
  self.view?.window?.rootViewController?.presentViewController(alert, animated: true, completion: nil)
}

That’s all for today. In my next part I’ll add particle and sound effects. You can download the code from GitHub: Part 4 or the latest version here. You can also download my prototyping App for this tutorial series:
Cheers,
Stefan
