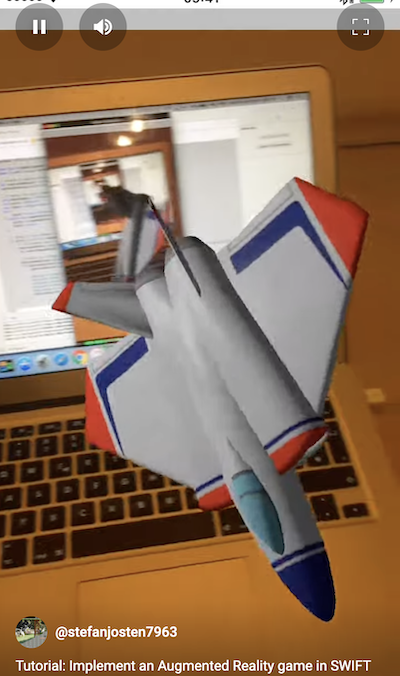
Implement an Augmented Reality game like Pokemon Go (Part 1)
The success of Pokemon Go™ inspired me to a new tutorial series about a simple augmented reality (AR) game.
- Part 1:
- Implement the camera view
- Create a SceneKit overlay with a moving 3D object.
- Part 2:
- Add a Head Up Display (HUD)
- Use CoreMotion to move the 3D object depending on the device position/orientation
- Part 3:
- GameLogic
- SceneKit / Physics
- Particles
Basically you just need to show the camera content together with an overlay of 3D objects to get an augmented reality effect. If you add interaction and physics effects you have everything in place what is needed to implement something similar as the Pokemon Go™ capture screen.
1. Create a new SceneKit project in Xcode:
Open Xcode and create a new project:
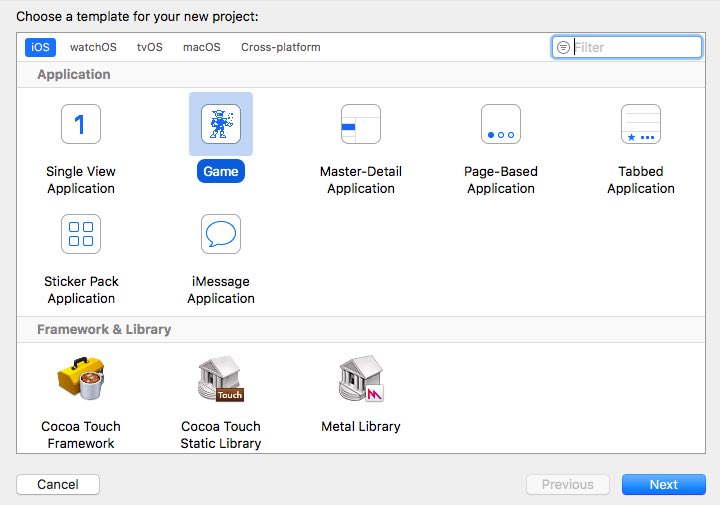
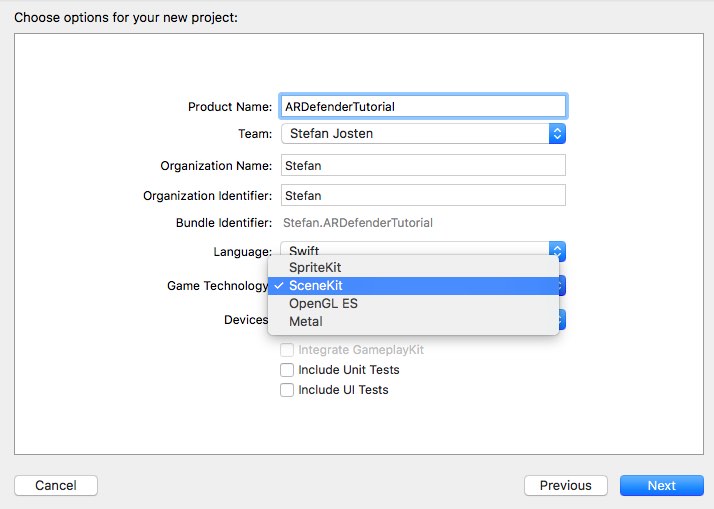
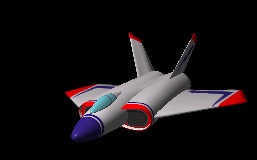
Xcode has already generated code to initialize a scene with a 3D object (viewDidLoad) and a touch interface to handle user interactions (handleTap). If you start the project, you’ll see a spaceship which can be manipulated by touch and swipe events:
Now limit the project to portrait mode, to keep this tutorial simple:

2. Create the camera view and the scene kit objects
Open the Storyboard …
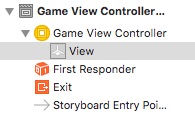
Change the SceneKitView to an UIView by dragging an new UIView into the GameViewController
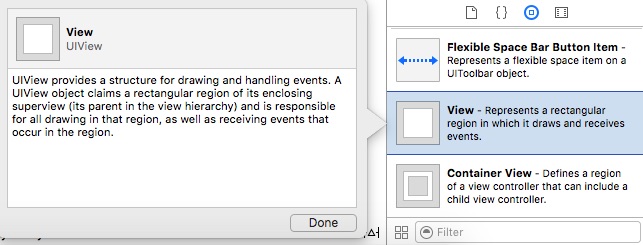
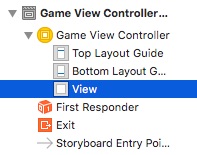
Add another UIView and a SceneKit View below the top UIView:
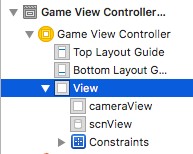
Change the UIConstraints of the cameraView and scnView to full screen size:
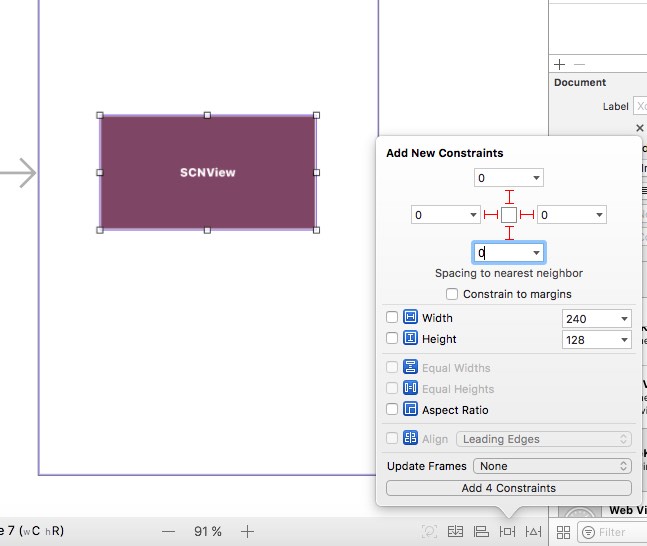
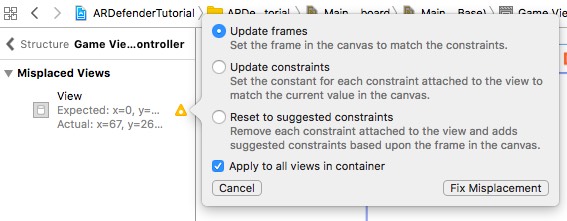
If you see warnings like this one: Choose “Update frames” to correct them automatically:
Create an IBOutlet for the scnView and the cameraView:

That’s all in the Storyboard. Now it’s time for real code.
3. Update the generated code:
We have created a global Outlet for the SceneView in the InterfaceBuilder before. Therefore we have to remove the scnView declaration viewDidLoad and handleTap:
// retrieve the SCNView
let scnView = self.view as! SCNView
We also have to change the scene background color in the method viewDidLoad to clear. Otherwise augmented reality will not work, because the camera picture will not be visible:
// configure the view
scnView.backgroundColor = UIColor.clear
Here’s the full source code of the two methods:
override func viewDidLoad() {
    super.viewDidLoad()

    // create a new scene
    let scene = SCNScene(named: "art.scnassets/ship.scn")!

    // create and add a camera to the scene
    let cameraNode = SCNNode()
    cameraNode.camera = SCNCamera()
    scene.rootNode.addChildNode(cameraNode)

    // place the camera
    cameraNode.position = SCNVector3(x: 0, y: 0, z: 15)

    // create and add a light to the scene
    let lightNode = SCNNode()
    lightNode.light = SCNLight()
    lightNode.light!.type = .omni
    lightNode.position = SCNVector3(x: 0, y: 10, z: 10)
    scene.rootNode.addChildNode(lightNode)

    // create and add an ambient light to the scene
    let ambientLightNode = SCNNode()
    ambientLightNode.light = SCNLight()
    ambientLightNode.light!.type = .ambient
    ambientLightNode.light!.color = UIColor.darkGray
    scene.rootNode.addChildNode(ambientLightNode)

    // retrieve the ship node
    let ship = scene.rootNode.childNode(withName: "ship", recursively: true)!

    // animate the 3d object
    ship.runAction(SCNAction.repeatForever(SCNAction.rotateBy(x: 0, y: 2, z: 0, duration: 1)))

    // set the scene to the view
    scnView.scene = scene

    // allows the user to manipulate the camera
    scnView.allowsCameraControl = true

    // show statistics such as fps and timing information
    scnView.showsStatistics = true

    // configure the view
    scnView.backgroundColor = UIColor.clear

    // add a tap gesture recognizer
    let tapGesture = UITapGestureRecognizer(target: self, action: #selector(handleTap(_:)))
    scnView.addGestureRecognizer(tapGesture)
}

func handleTap(_ gestureRecognize: UIGestureRecognizer) {

    // check what nodes are tapped
    let p = gestureRecognize.location(in: scnView)
    let hitResults = scnView.hitTest(p, options: [:])
    // check that we clicked on at least one object
    if hitResults.count > 0 {
        // retrieved the first clicked object
        let result: AnyObject = hitResults[0]

        // get its material
        let material = result.node!.geometry!.firstMaterial!

        // highlight it
        SCNTransaction.begin()
        SCNTransaction.animationDuration = 0.5

        // on completion - unhighlight
        SCNTransaction.completionBlock = {
            SCNTransaction.begin()
            SCNTransaction.animationDuration = 0.5
            material.emission.contents = UIColor.black
            SCNTransaction.commit()
        }
        material.emission.contents = UIColor.red
        SCNTransaction.commit()
    }
}
4. Create the Augmented Reality Camera Layer:
Add the AVFoundation Framework to Linked Frameworks and Libraries
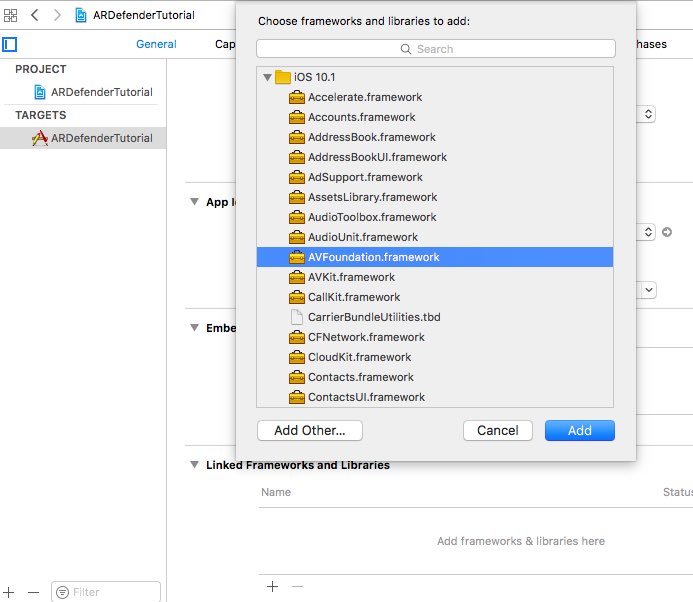
Add an import statement for the AVFoundation on top of the ViewController class:
import AVFoundation
Add the key “Privacy - Camera Usage Description” to the plist file: 
Otherwise you will see this error, when you start the App:
This app has crashed because it attempted to access privacy-sensitive data without a usage description. The app’s Info.plist must contain an NSCameraUsageDescription key with a string value explaining to the user how the app uses this data.
This is needed because of the new App privacy policy from Apple.
Implement the camera capture code:
Now the only missing part is the code to capture the camera input and place it below the transparent 3D scene to get the Augmented Reality effect:
var preview: AVCaptureVideoPreviewLayer?

override func viewWillAppear(_ animated: Bool) {
    super.viewWillAppear(animated)

    // create a capture session for the camera input
    let captureSession = AVCaptureSession()
    captureSession.sessionPreset = AVCaptureSessionPresetPhoto

    // Choose the back camera as input device
    let backCamera = AVCaptureDevice.defaultDevice(withMediaType: AVMediaTypeVideo)
    var error: NSError?
    var input: AVCaptureDeviceInput!
    do {
        input = try AVCaptureDeviceInput(device: backCamera)
    } catch let cameraError as NSError {
        error = cameraError
        input = nil
    }

    // check if the camera input is available
    if error == nil && captureSession.canAddInput(input) {
        // ad camera input to the capture session
        captureSession.addInput(input)
        let photoImageOutput = AVCapturePhotoOutput()

        // Create an UIlayer with the capture session output
        photoImageOutput.photoSettingsForSceneMonitoring = AVCapturePhotoSettings(format: [AVVideoCodecKey: AVVideoCodecJPEG])
        if captureSession.canAddOutput(photoImageOutput) {
            captureSession.addOutput(photoImageOutput)
            preview = AVCaptureVideoPreviewLayer(session: captureSession)
            preview?.videoGravity = AVLayerVideoGravityResizeAspectFill
            preview?.connection.videoOrientation = AVCaptureVideoOrientation.portrait
            preview?.frame = cameraView.frame
            cameraView.layer.addSublayer(preview!)
            captureSession.startRunning()
        }
    }
}
Now start the App on a real iOS Device:
Here is a video to get an impression:
You can download the sample code from GitHub.
That’s all for today.
If you want to support me, please download my Apps from the Apple AppStore.
Cheers, Stefan
