How to add Social Media Integration to your iOS App
Welcome to my new SWIFT tutorial. Today I’ll show you how to implement social media integration for Facebook and Twitter. Additionally I’ll explain Email integration and how to embed a direct AppStore link to provide a convenient way for players to rate an app.
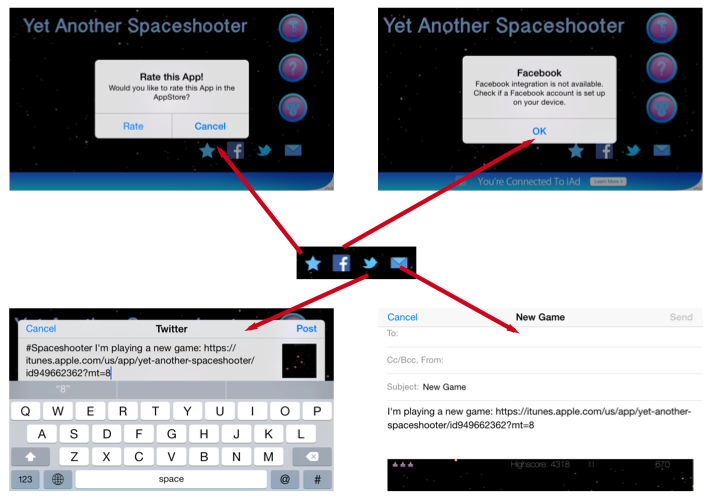
My latest game in the AppStore contains a sample.
The four buttons at the bottom of the screen trigger the social actions:
1. Create a sample project:
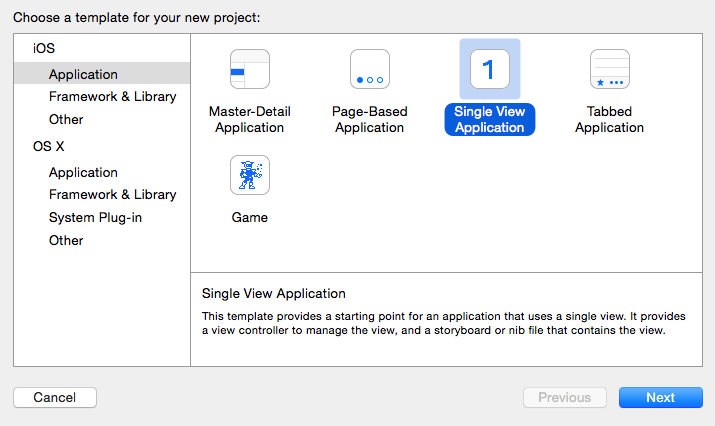
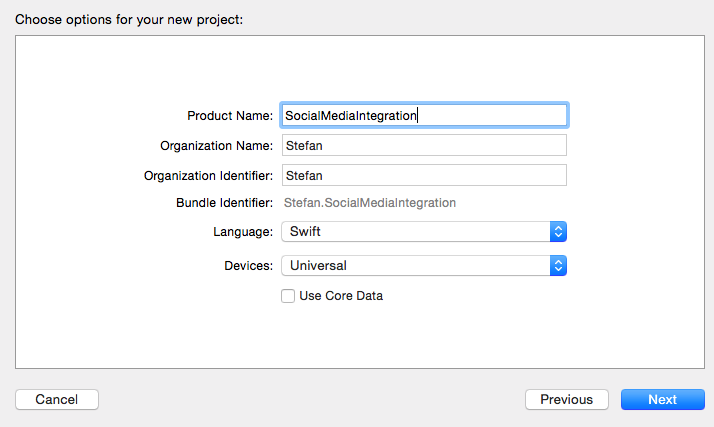
Start XCode and create a new Single View Application:
Open the Main.storyboard file and add four buttons to the ViewController:
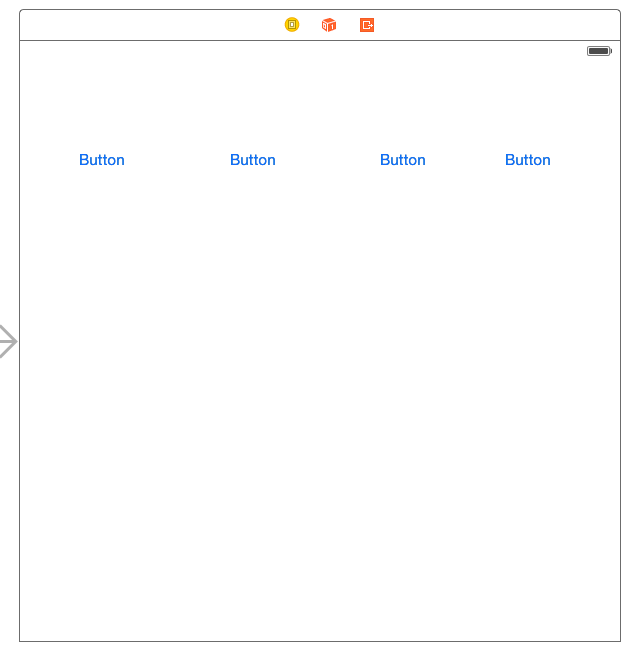
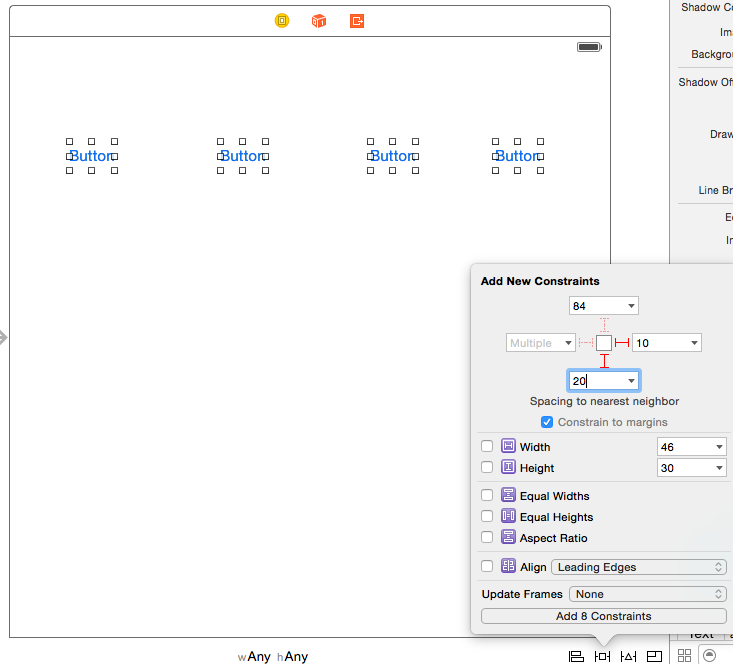
For a proper layout on all form factors and orientations add the needed auto layout constraints:
- Select the four buttons
- Press the Pin button
- Enter in the spacing to nearest neighbour section 20 to the bottom and 10 to the right
XCode shows a warning, that the current layout does not match the constraints (the yellow lines). To fix this click the Resolve Auto Layout Issues button and choose Update Frames:
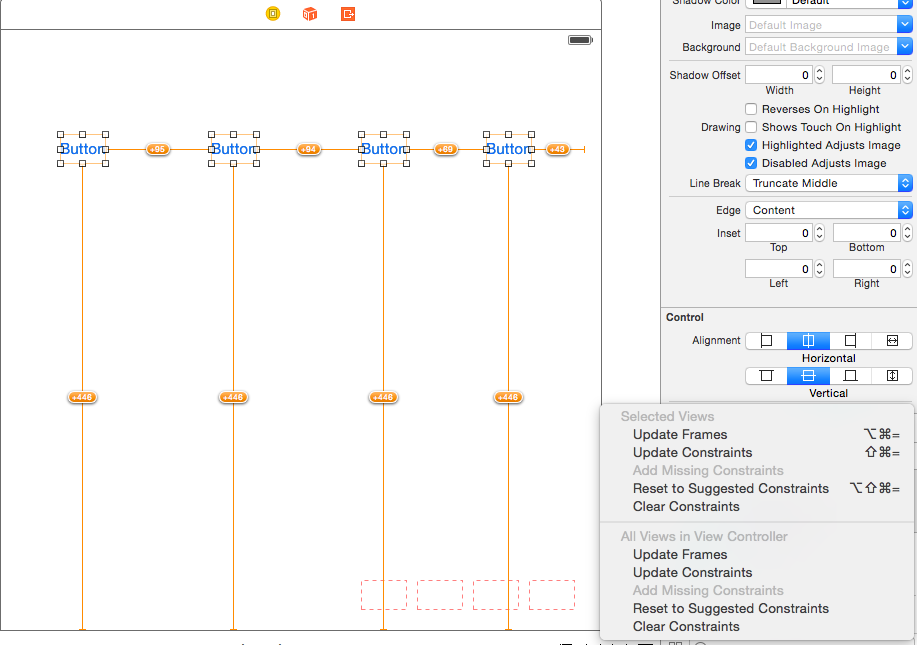
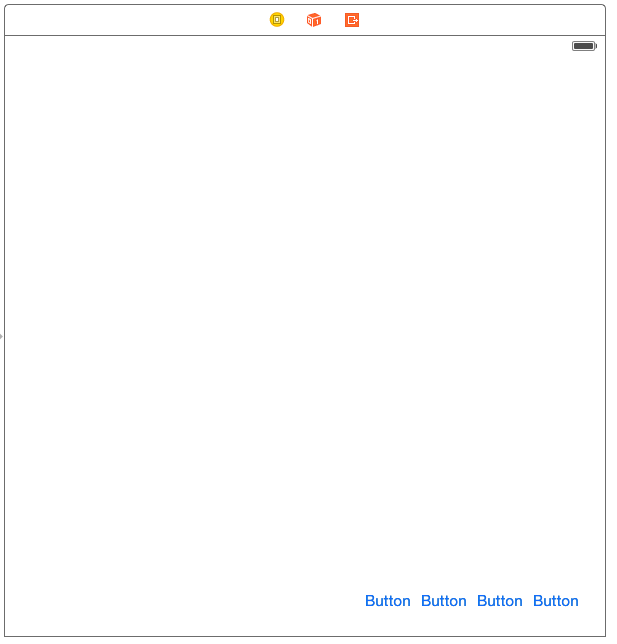
The result should look like this:

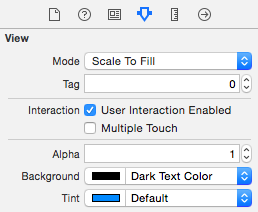
Change the background colour of the view to black:
Add an IBAction method for every button (Select CTRL, press mouse and move the mouse pointer to the view controller file)
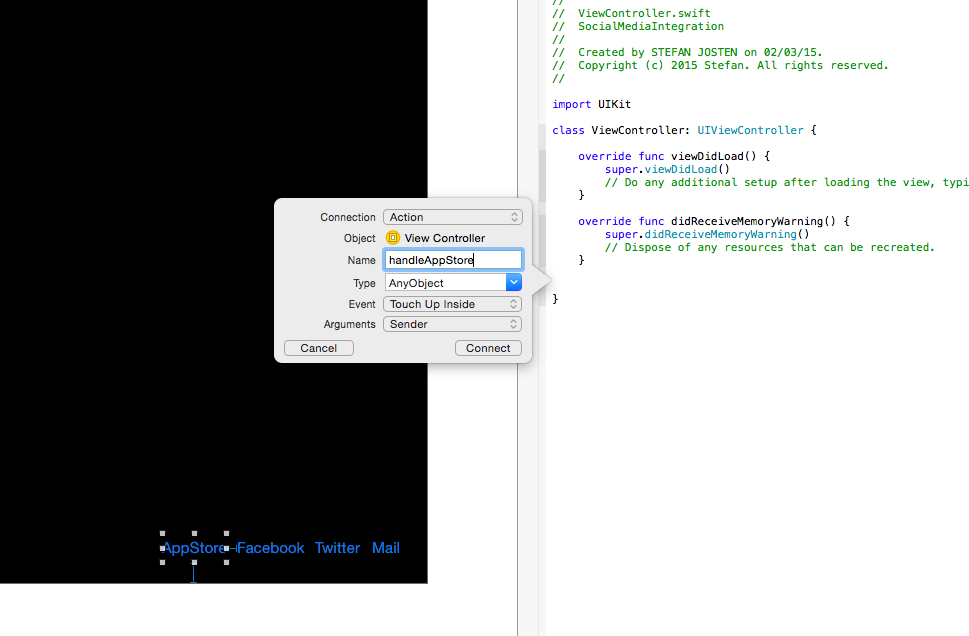
The ViewController.swift file should look like this:
import UIKit

class ViewController: UIViewController {
  override func viewDidLoad() {

    super.viewDidLoad()
    // Do any additional setup after loading the view, typically from a nib.
  }

  @IBAction func handleAppStore(sender: AnyObject) {

  }

  @IBAction func handleFacebook(sender: AnyObject) {

  }

  @IBAction func handleTwitter(sender: AnyObject) {

  }

  @IBAction func handleMail(sender: AnyObject) {

  }
}
Add an image to image.assets which can be attached to the tweets, posts ands mail.

2. Implement AppStore Integration
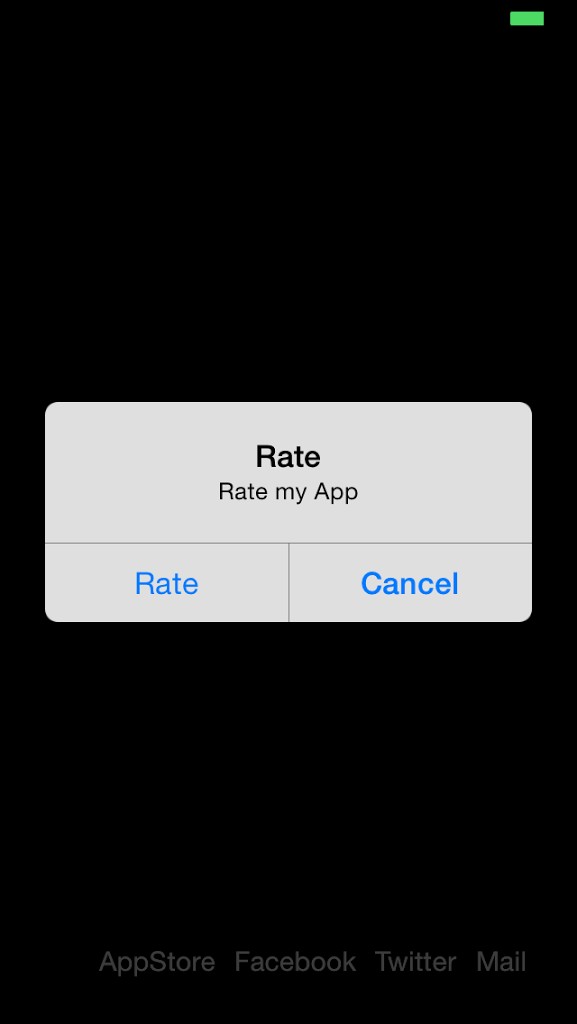
Implement the handleAppStore method. Show an alert where the user can choose to navigate to the AppStore:
@IBAction func handleAppStore(sender: AnyObject) {
  let alert = UIAlertController(title: "Rate", message: "Rate my App", preferredStyle: UIAlertControllerStyle.Alert)
  alert.addAction(UIAlertAction(title: "Rate", style: UIAlertActionStyle.Default) { _ in
    // Open App in AppStore
    let iLink = "https://apps.apple.com/app/just-a-small-spaceshooter/id1449062544"
    UIApplication.sharedApplication().openURL(NSURL(string: iLink)!)
  })
  alert.addAction(UIAlertAction(title: "Cancel", style: UIAlertActionStyle.Default, handler: nil))
  self.presentViewController(alert, animated: true, completion: nil)
}
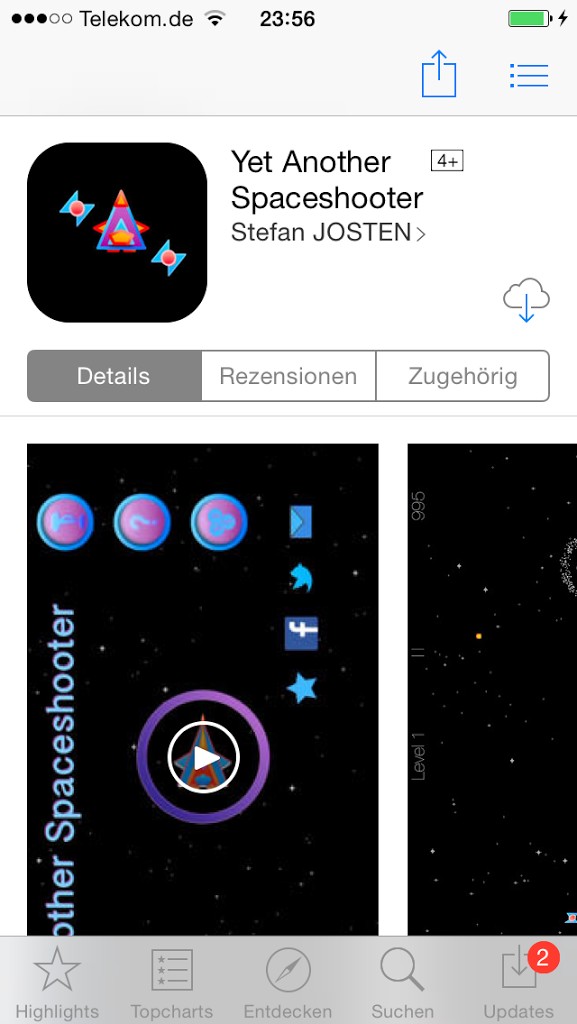
3. Implement Mail Integration
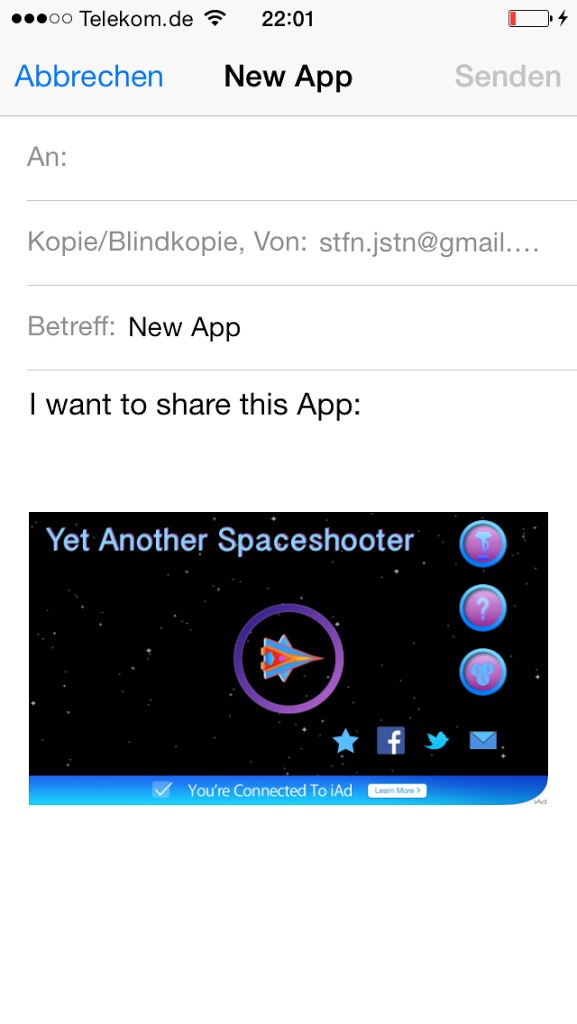
Import MessageUI and add the MFMailComposeViewControllerDelegate to the class definition:
import MessageUI
class ViewController: UIViewController, MFMailComposeViewControllerDelegate {
Implement the handleMail and mailComposeController methods:
@IBAction func handleMail(sender: AnyObject) {
  // Check if Mail is available
  if(MFMailComposeViewController.canSendMail()){
    // Create the mail message
    var mail = MFMailComposeViewController()
    mail.mailComposeDelegate = self
    mail.setSubject("New App")
    mail.setMessageBody("I want to share this App: ", isHTML: false)

    // Attach the image
    let imageData = UIImagePNGRepresentation(UIImage(named: "shareImage"))
    mail.addAttachmentData(imageData, mimeType: "image/png", fileName: "Image")
    self.presentViewController(mail, animated: true, completion: nil)
  } else {
    // Mail not available. Show a warning
    let alert = UIAlertController(title: "Email", message: "Email not available", preferredStyle: UIAlertControllerStyle.Alert)
    alert.addAction(UIAlertAction(title: "OK", style: UIAlertActionStyle.Default, handler: nil))
  self.presentViewController(alert, animated: true, completion: nil)
  }
}

// Required by interface MFMailComposeViewControllerDelegate
func mailComposeController(controller: MFMailComposeViewController!, didFinishWithResult result: MFMailComposeResult, error: NSError!) {
  // Close the mail dialog
  self.dismissViewControllerAnimated(true, completion: nil)
}
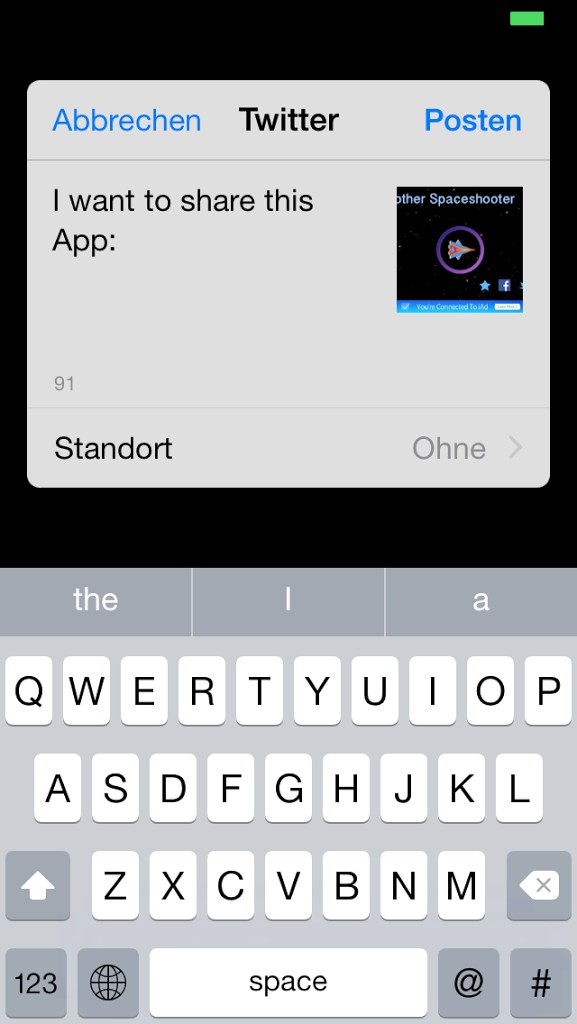
4. Implement Twitter Integration
Import Social:
import Social
Implement the handleTwitter method:
@IBAction func handleTwitter(sender: AnyObject) {
  // Check if Twitter is available
  if(SLComposeViewController.isAvailableForServiceType(SLServiceTypeTwitter)) {
    // Create the tweet
    let tweet = SLComposeViewController(forServiceType: SLServiceTypeTwitter)
    tweet.setInitialText("I want to share this App: ")
    tweet.addImage(UIImage(named: "shareImage"))
    self.presentViewController(tweet, animated: true, completion: nil)
  } else {
    // Twitter not available. Show a warning
    let alert = UIAlertController(title: "Twitter", message: "Twitter not available", preferredStyle: UIAlertControllerStyle.Alert)
    alert.addAction(UIAlertAction(title: "OK", style: UIAlertActionStyle.Default, handler: nil))
    self.presentViewController(alert, animated: true, completion: nil)
  }
}
5. Implement Facebook Integration
Implement the handleFacebook method:
@IBAction func handleFacebook(sender: AnyObject) {
  // Check if Facebook is available
  if (SLComposeViewController.isAvailableForServiceType(SLServiceTypeFacebook)) {
    // Create the post
    let post = SLComposeViewController(forServiceType: (SLServiceTypeFacebook))
    post.setInitialText("I want to share this App: ")
    post.addImage(UIImage(named: "shareImage"))
    self.presentViewController(post, animated: true, completion: nil)
  } else {
    // Facebook not available. Show a warning
    let alert = UIAlertController(title: "Facebook", message: "Facebook not available", preferredStyle: UIAlertControllerStyle.Alert)
    alert.addAction(UIAlertAction(title: "OK", style: UIAlertActionStyle.Default, handler: nil))
    self.presentViewController(alert, animated: true, completion: nil)
  }
}
Instead of the text you should show icons. I cannot add them to the SourceCode because of copyright reasons. You can download them from Facebook and Twitter homepage. 
That’s all for today. The SourceCode of this tutorial is available at GitHub. For my next post I’m planning something about In App Purchase. To see the social media integration in action you can download my free game in the AppStore:
Cheers,
Stefan