XCUI Tests with SceneKit
I started writing UI tests for my upcoming dungeon crawler game. My game engine uses SceneKit for the 3D world and XCUI tests for the UI test automation.
I recommend this tutorial as introduction in ui test automation with XCUI.
I write this tutorial because there is not much information avilable about the combination of SCNKit and XCUI. Hopefully it helps to avoid some of the pitfalls.
The specific problem I had to solve, was to automate a scenario, where two or more interactive SCNNodes are visible on a screen. Every node should trigger a different action.
Using screen coordinates to trigger a specific node, would have been one option, but this causes a huge overhead. My game runs on iPads and iPhones in Landscape and Portrait format. That means for each combination of screen resolution and orientation I would need different sets of coordinates.


Here is a much better solution:
I subclassed SCNNode and implemented the UIAccessibilityIdentification delegate. Every time I created an instance of MyNode I gave it a unique accessibilityIdentifier.
class MyNode: SCNNode, UIAccessibilityIdentification {
    var accessibilityIdentifier: String?
}
Now these nodes can be addressed inside of the test code with:
app.otherElements[id].firstMatch
My first try was to get the element and call the tap method directly on the node:
app.otherElements[id].firstMatch.tap()
Unfortunately that didn’t work. An SCNNode doesn’t react on the tap method in XCUI.
The trick was to find the SCNNode , get the coordinates of the node and call tap on these coordinates:
app.otherElements[id].firstMatch.coordinate(withNormalizedOffset: CGVector.zero).tap()
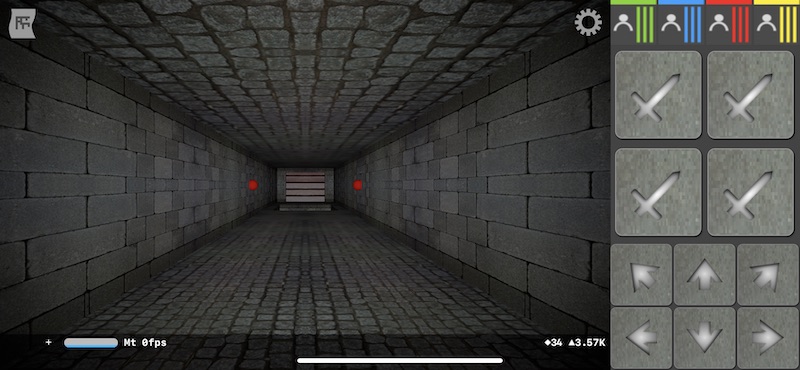
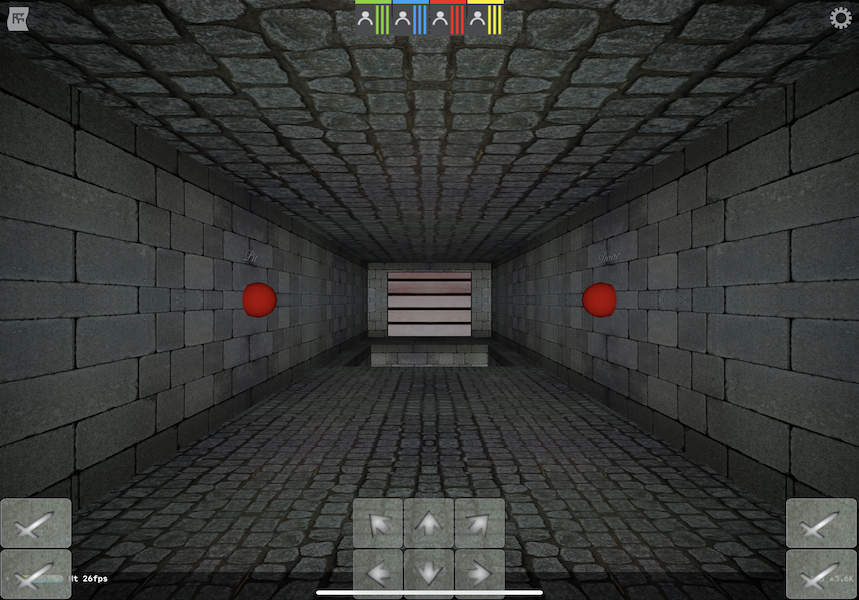
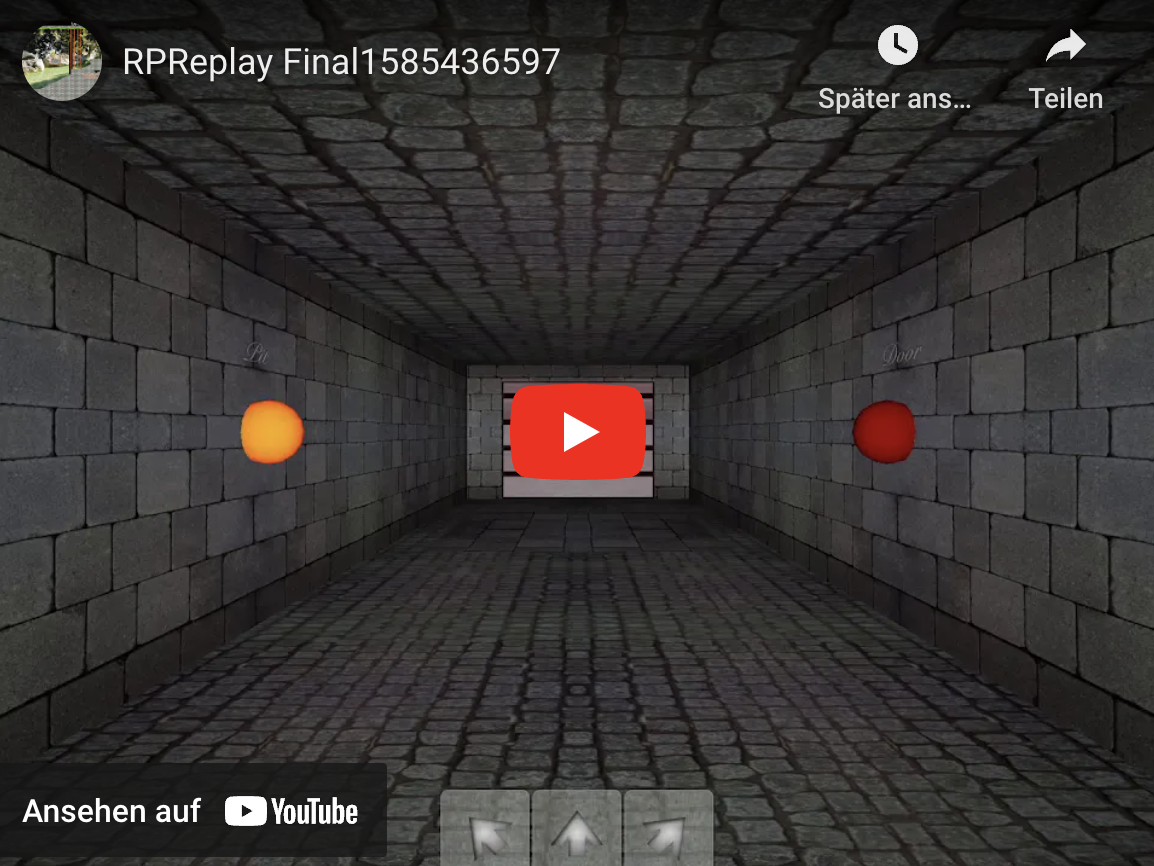
And here is a video with the automated result. The left button closes the pit and the right opens the door.
That all for today,
Cheers Stefan
