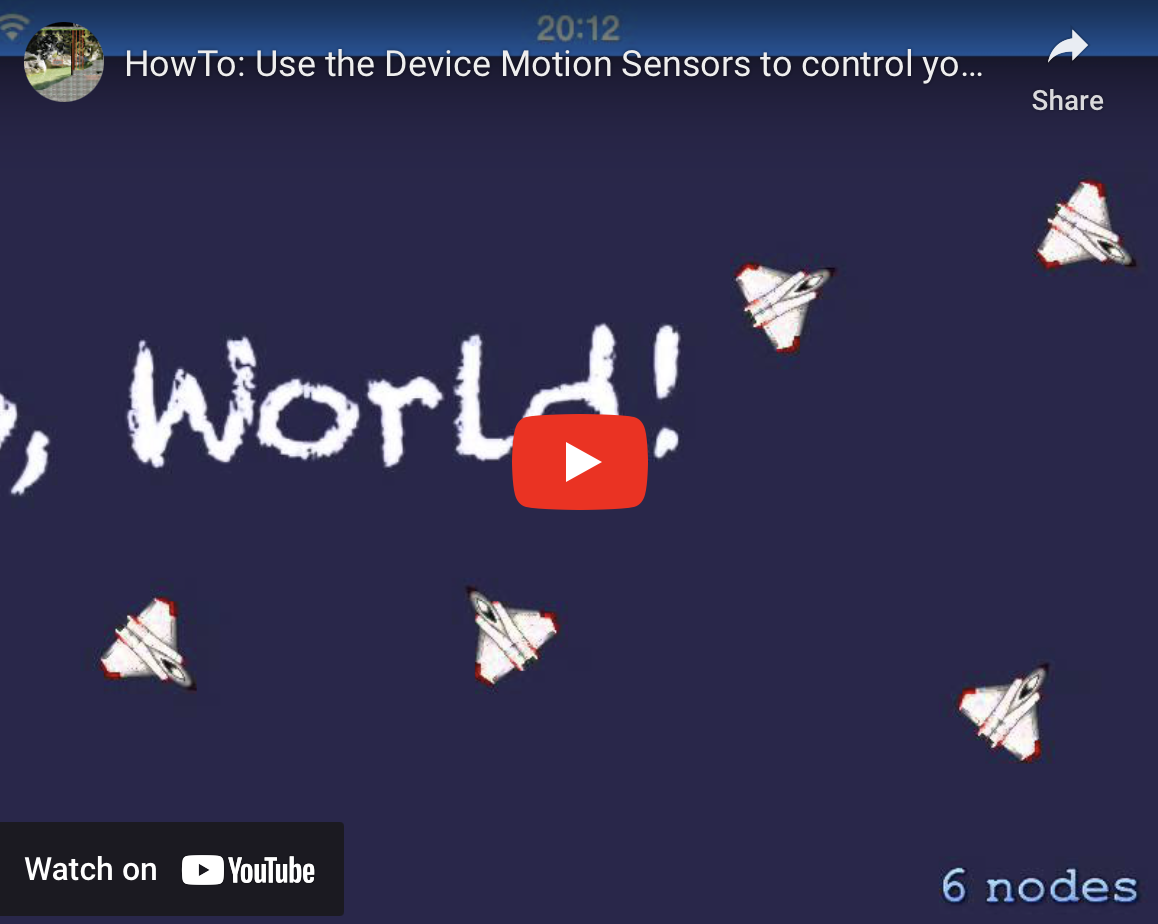
HowTo: Use the Device Motion Sensors to control your game
Welcome to Part 6 of my blog series about game development: Device Motion Sensors
Today I’ll include motion detection to control the movement of my game. iOS offers a powerful API to handle motion detection with the CMMotionManager class. Let’s start with a small standalone project to show how to use the motion detection:
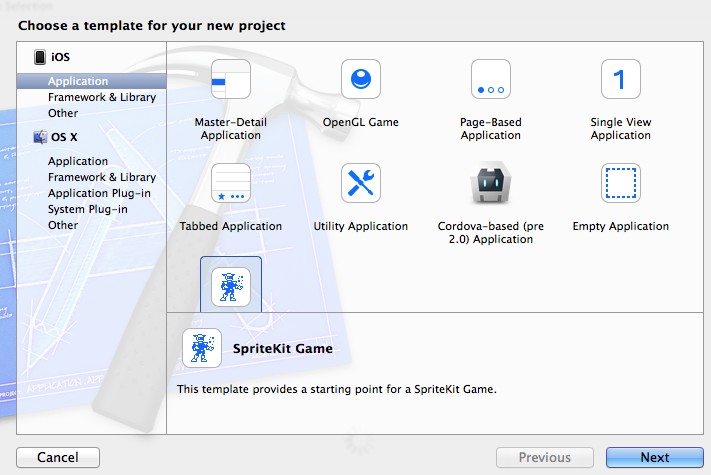
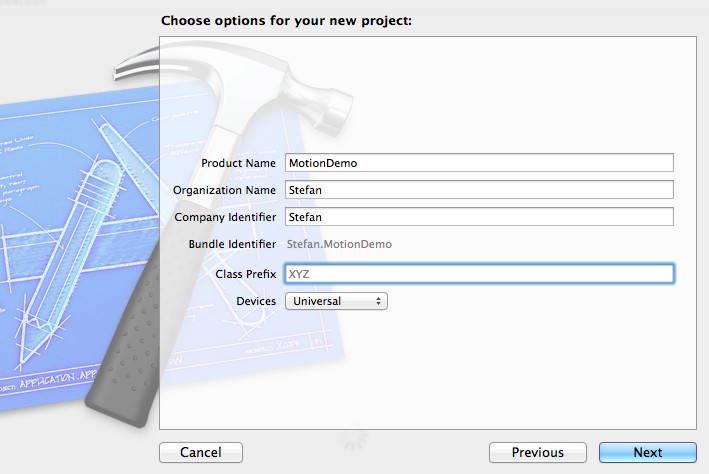
1. First create a new SpriteKit project.
2. Add the GLKit and the CoreMotion framework to your project.

3. Add a new file MotionManagerSingleton of type NSObject:
MotionManagerSingleton.h :
#import <CoreMotion/CoreMotion.h>
#import <GLKit/GLKit.h>

@interface MotionManagerSingleton : NSObject
  +(GLKVector3)getMotionVectorWithLowPass;
  +(void)stop; +(void)calibrate;
@end
MotionManagerSingleton.m :
#import "MotionManagerSingleton.h"

// Damping factor
#define cLowPassFacor 0.95

@implementation MotionManagerSingleton
  static CMMotionManager* _motionManager;
  static CMAttitude* _referenceAttitude;
  static bool bActive;

  // only one instance of CMMotionManager can be used in your project.
  // => Implement as Singleton which can be used in the whole application
  +(CMMotionManager*)getMotionManager {
    if (_motionManager==nil) {
      _motionManager=[[CMMotionManager alloc]init];
      _motionManager.deviceMotionUpdateInterval=0.25;
      [_motionManager startDeviceMotionUpdates];
      bActive=true;
    } else if (bActive==false) {
      [_motionManager startDeviceMotionUpdates];
      bActive=true;
    }
    return _motionManager;
  }

  // Returns a vector with the movements
  // At the first time a reference orientation is saved to ensure the motion detection works
  // for multiple device positions
  +(GLKVector3)getMotionVectorWithLowPass{
    // Motion
    CMAttitude *attitude = self.getMotionManager.deviceMotion.attitude;
    if (_referenceAttitude==nil) {
      // Cache Start Orientation to calibrate the device. Wait for a short time to give MotionManager enough time to initialize
      [self performSelector:@selector(calibrate) withObject:nil afterDelay:0.25];
    } else {
      // Use start orientation to calibrate
      [attitude multiplyByInverseOfAttitude:_referenceAttitude];
    }
    return [self lowPassWithVector: GLKVector3Make(attitude.yaw,attitude.roll,attitude.pitch)];
  }

  // Stop collection motion data to save energy
  +(void)stop {
    if (_motionManager!=nil) {
      [_motionManager stopDeviceMotionUpdates];
      _referenceAttitude=nil;
      bActive=false;
    }
  }

  +(void)calibrate {
    _referenceAttitude = [self.getMotionManager.deviceMotion.attitude copy];
  }

  // Damp the jitter caused by hand movement
  +(GLKVector3)lowPassWithVector:(GLKVector3)vector {
    static GLKVector3 lastVector;
    vector.x = vector.x *cLowPassFacor \+ lastVector.x* (1.0 - cLowPassFacor);
    vector.y = vector.y *cLowPassFacor \+ lastVector.y* (1.0 - cLowPassFacor);
    vector.z = vector.z *cLowPassFacor \+ lastVector.z* (1.0 - cLowPassFacor);
    lastVector = vector;
    return vector;
  }
@end
Why implement MotionManager as a Singleton?
Only one instance of CMMotionManager can be used in an iOS project. Therefore I’ve implemented this class following a Singleton Pattern.
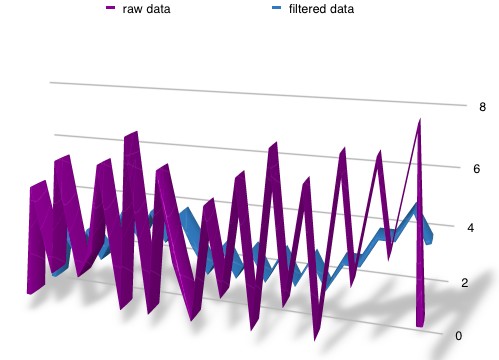
Why to use a low pass filter?
A low pass filter smoothens the measured results of the sensors, to avoid jitter and short lived acceleration spikes. With this technique the influence of unintended hand movements can be minimized. Downsize is, that the reaction to orientation changes is slowed down.
4. Changes in MyScene class:
MyScene.m:
#import "MotionManagerSingleton.h"
#import <GLKit/GLKit.h>

...

-(void)touchesBegan:(NSSet *)touches withEvent:(UIEvent*)event {

  /* Called when a touch begins */
  for (UITouch *touch in touches) {
    CGPoint location = [touch locationInNode:self];
    SKSpriteNode *sprite = [SKSpriteNode spriteNodeWithImageNamed:@"Spaceship"];
    sprite.position = location;
    sprite.size=CGSizeMake(20, 20); // <<<<< New
    SKAction *action = [SKAction rotateByAngle:M_PI duration:1];
    [sprite runAction:[SKAction repeatActionForever:action]];
    [self addChild:sprite];
  }
}

...

// private properties
NSTimeInterval _lastUpdateTime; // <<<<< New
NSTimeInterval _dt; // <<<<< New

-(void)update:(CFTimeInterval)currentTime {
  // Needed for smooth scrolling. It's not guaranteed, that the update method is not called in fixed intervals:
  if (_lastUpdateTime) { // <<<<< New
    _dt = currentTime -_lastUpdateTime; // <<<<< New
  } else { // <<<<< New
    _dt = 0; // <<<<< New
  } // <<<<< New

  _lastUpdateTime = currentTime; // <<<<< New
  GLKVector3 motionVector = [MotionManagerSingleton getMotionVectorWithLowPass]; // <<<<< New
  SKSpriteNode *sprite; // <<<<< New
  for (int i=0; i<self.children.count;i++) { // <<<<< New
    sprite=[self.children objectAtIndex:i]; // <<<<< New
    sprite.position = CGPointMake(sprite.position.x \+ _dt *motionVector.x*100, sprite.position.y); // <<<<< New
  }
}
You can find the complete code in my GitHub repository here.
Now let’s integrate this into the MyFirstGame project:
If you haven’t completed part 5, you can download the project from GitHub: v0.4.1
1. Add the MotionManagerSingleton files to the project
2. Add the libraries to the project
3. Imports MotionManagerSingleton and GLKit to the GameScene class:
#import "MotionManagerSingleton.h"
#import <GLKit/GLKit.h>
4. Change touchesBegan method in GameScene class
// Increase speed after touch event up to 5 times.
-(void)touchesBegan:(NSSet *)touches withEvent:(UIEvent*)event {
  if (_speed<cMaxSpeed &&_speed>-cMaxSpeed) {
    _speed=_speed*2;
  } else {
    _speed=cStartSpeed;
  }
}
5. Change scroll method in ParallaxHandlerNode class:
-(void)scroll:(float)speed {
  GLKVector3 vMotionVector = [MotionManagerSingleton getMotionVectorWithLowPass]; //NEW
  float dMotionFactor=vMotionVector.x*cFactorForAngleToGetSpeed; // NEW
  for (int i=0; i<self.children.count;i++) {
    SKNode *node = [self.children objectAtIndex:i];
    // If more than one screen => Scrolling
    if (node.children.count>0) {
      float parallaxPos=node.position.x;
      NSLog(@"x: %f", parallaxPos);
      if (dMotionFactor>0) { //Changed
        parallaxPos+=speed*i*dMotionFactor; //Changed
        if (parallaxPos>=0) {
          // switch between first and last screen
          parallaxPos=-_containerSize.width*(node.children.count-1);
        }
      } else if (dMotionFactor<0) { //Changed
        parallaxPos+=speed*i*dMotionFactor; //Changed;
        if (parallaxPos<-_containerSize.width*(node.children.count-1)) {
          // switch between last and first screen
          parallaxPos=0;
        }
      }

      // Set new node position. Position can't be set directly, therefore tempPos is used.
      CGPoint tmpPos=node.position;
      tmpPos.x = parallaxPos;
      node.position = tmpPos;
    }
  }
}
6. Deploy to a device and watch how the backgrounds react to the device movement.
As always you can download the complete project from GitHub: v0.5.1 That’s all for today. In my next post I’ll add an vertical parallax effect to increase the illusion of depth. Cheers, Stefan Short update: A migration to SWIFT is done in this blog post.
